


Fake Wooden Fireplace
DO IT YOURSELF
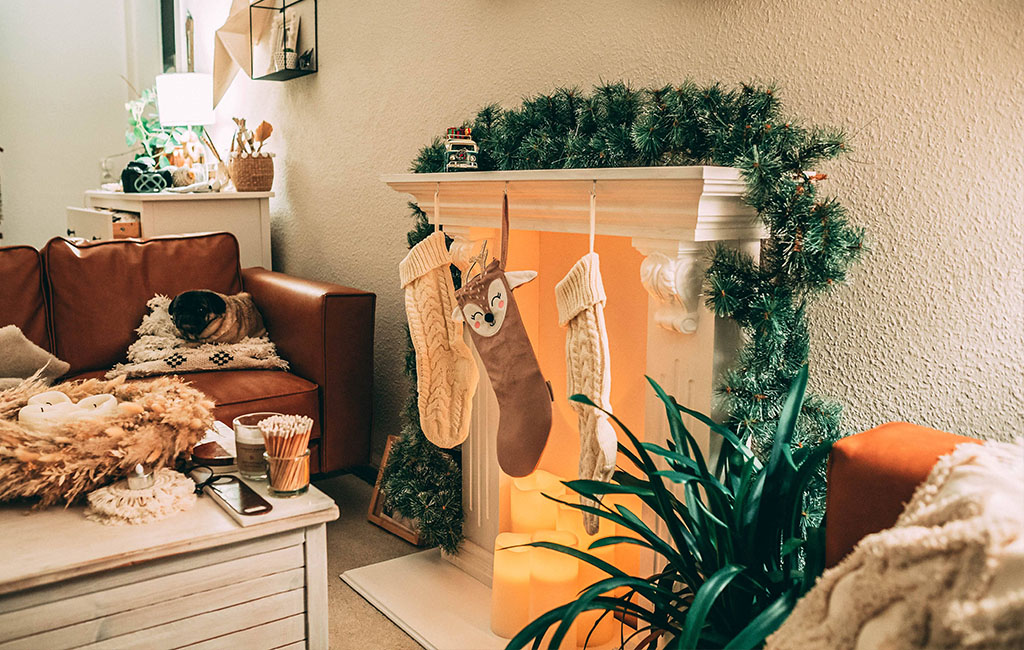
Still missing a visual highlight for your winter wonderland? Then we have the perfect solution! A fake fireplace is a charming decorative feature that brings cosiness to your home – not just at Christmas. And in true American tradition, it’s the perfect spot to hang oversized gift stockings for the whole family. Just grab your Power X-Change tools and you’re ready to go!
Tools and Materials
Tools
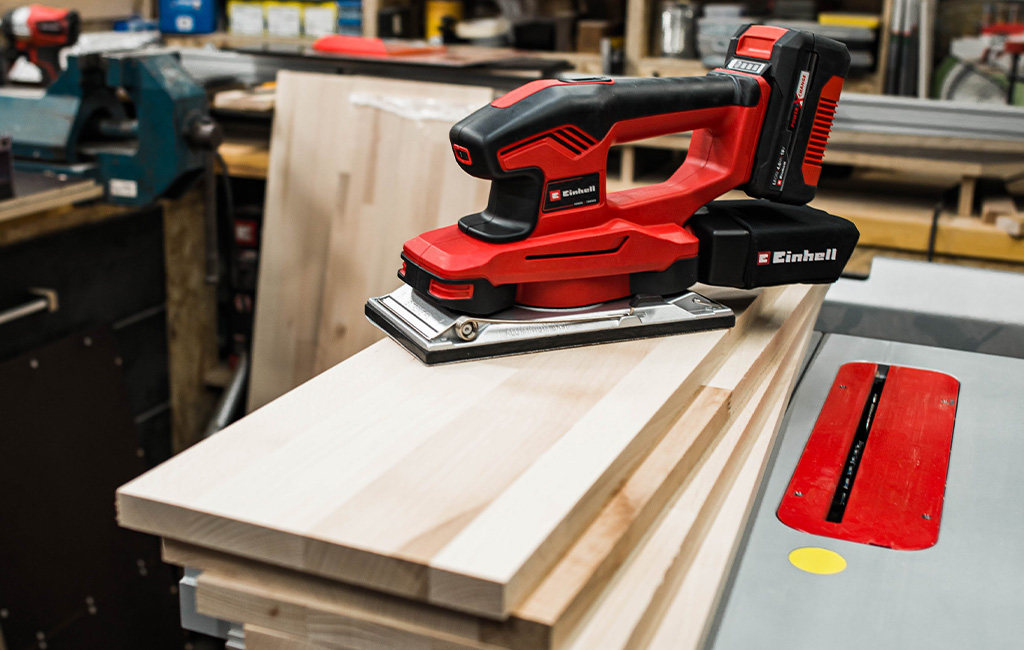
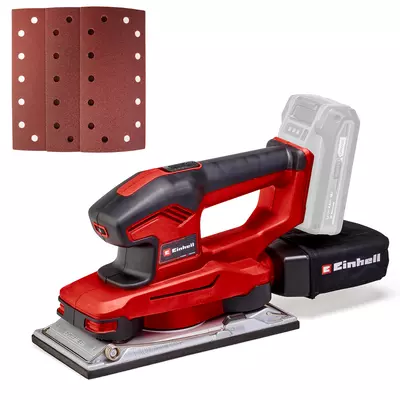
- Cordless orbital sander
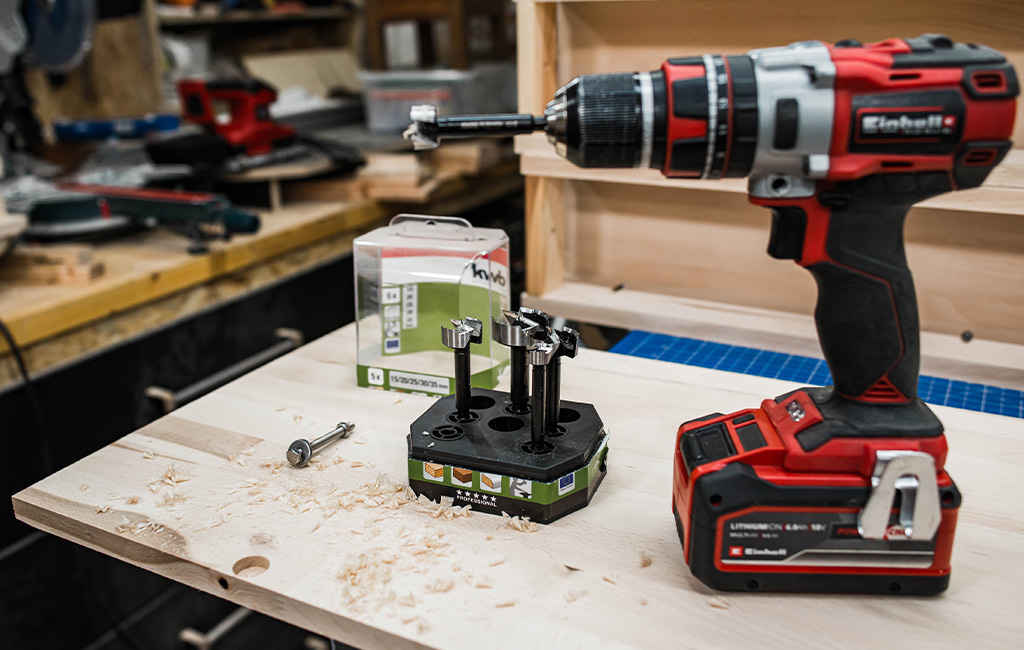
- Cordless drill driver
- Cordless sliding mitre saw
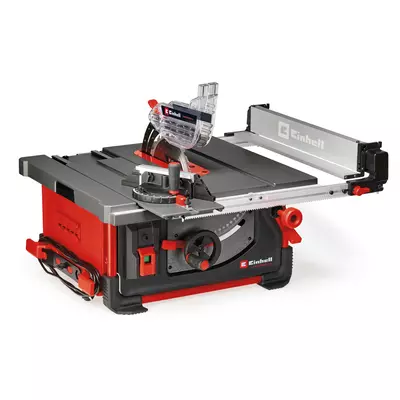
- or Cordless table saw
- Cordless Router
- Forstner bit
- Screw clamps
- Edge profiling cutter (optional)
Materials
- 4x solid wood panels (beech / spruce / pine): 800 x 200 x 18 mm
- Dowel pins
- M6 screws
- 2x large repair washers
- Decorative polystyrene mouldings
- Mounting adhesive
- Water-based PU lacquer
- Paintbrush / roller
How to build the columns
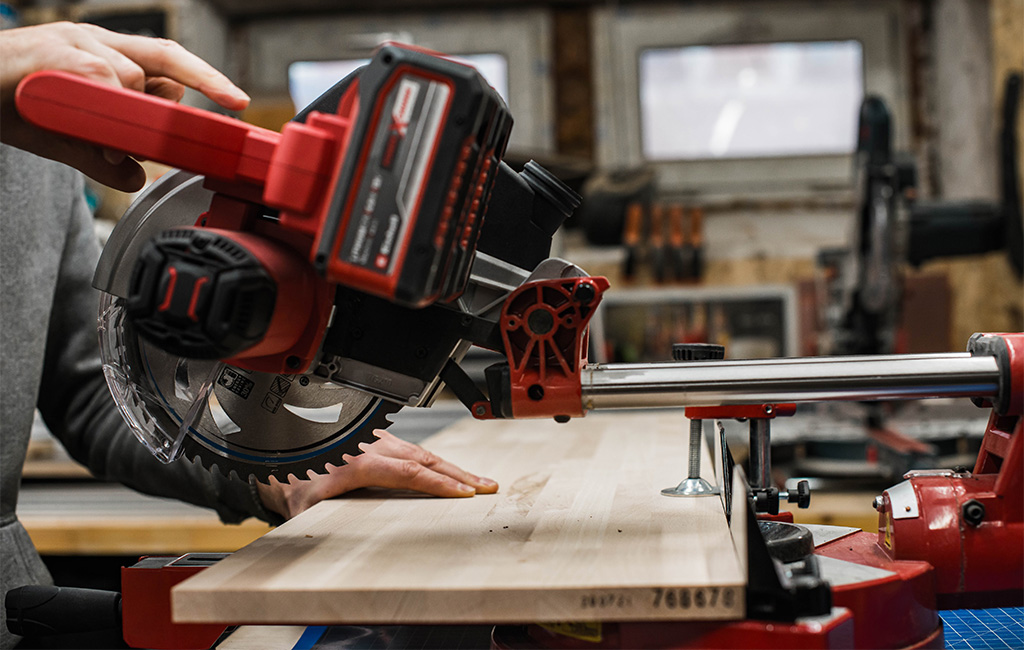
Step 1: Cutting the solid wood panels
We'll start by building the columns of the fake fireplace. For this, we use solid wood panels made of beech, spruce or pine, each measuring 800 x 200 x 18 mm. You'll need four panels in total for the two columns – two of them will be used for the sides.
Each of these side panels is cut exactly in half lengthwise. This can be done easily with a table saw or a circular saw with a guide rail. Due to the width of the saw blade, the resulting panels will be slightly narrower – typically 98 or 99 mm instead of 100 mm. But that’s no problem – it won’t be noticeable. Once cut, lightly chamfer the edges and sand down the surfaces.
To prevent the front from appearing too bulky, cut the front panel down to a width of 160 mm. Once done, you’ll have the following pieces:
- 4 side panels: 800 x 98 x 18 mm
- 2 front panels: 800 x 160 x 18 mm
Of course, you're free to use pre-cut 100 mm panels or leave the front panels at 200 mm wide, depending on your preference and what's available at your local DIY store. These measurements are just a guide.
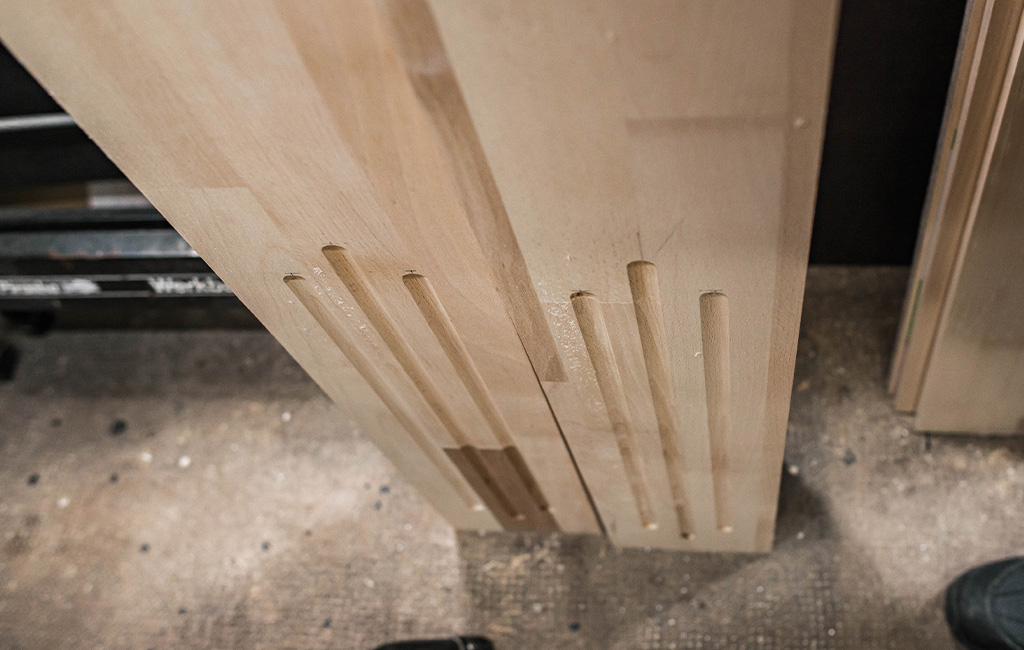
Step 2: Assembling the columns
The columns are built in a U-shape and remain hollow at the back. I opted for pocket holes so that the joints are not visible from the front. Alternatively, you could use biscuit or dowel joints, or small metal brackets. In any case, the side panels should also be glued to the front panel.
To make the construction even sturdier, we add two crossbars. These can be attached using dowels or pocket hole joints. They also serve to connect the columns to the top and the base plate. We deliberately do not mount these flush. The resulting gap later helps when clamping the components together. To ensure the gap is even, use an offcut of 3 mm MDF as a spacer before fixing.

A central hole for an M6 screw is also drilled into the crossbar. When positioning the hole, make sure it does not interfere with the skirting board. If necessary, measure carefully and move the hole for fixing the base plate slightly forward. Precise measuring is essential here. To avoid a tight fit, it is advisable to drill an 8 mm hole. Later on, when adding the screw connections, you should also use two large repair washers.
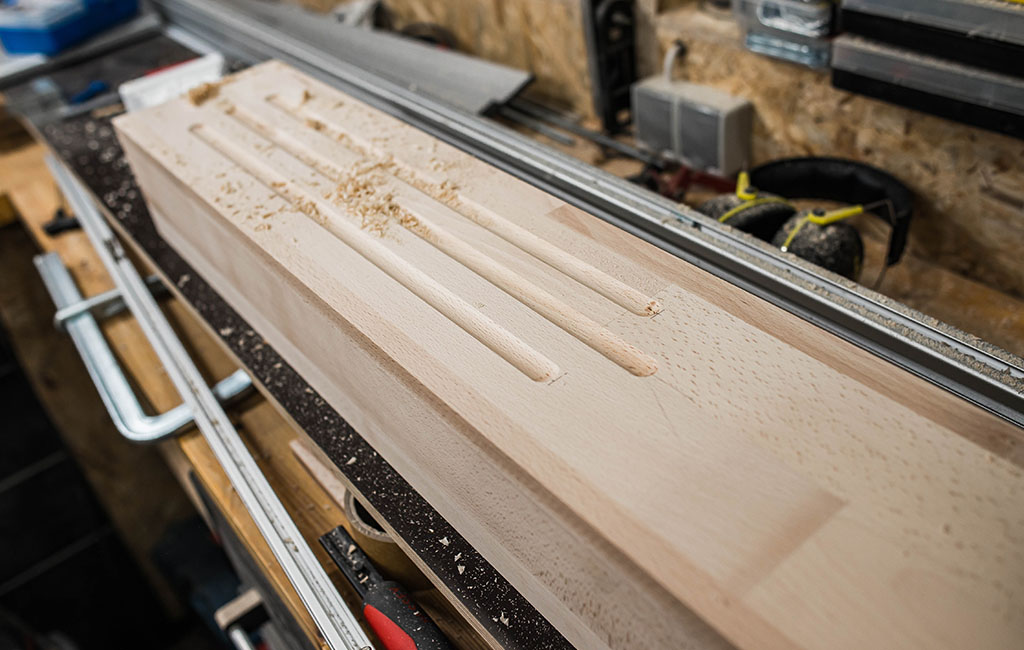
Step 3: Decorating the columns
For decoration, you can mill a few rounded grooves. To do this, create a guide rail to act as a stop. It is also advisable to add two end stops to ensure the grooves are all the same length. Mark the centre line of the groove and then align the router with the stop. Fix everything securely with two clamps.
Pay attention to the cutting direction: the best method is to work away from yourself, guiding the router behind the rail (rail first, then router) and moving from right to left. This way, the router is pressed firmly against the rail with each pass. If you do it the other way round, the router will push away from the guide. It’s best to practise and test this on a scrap piece first.
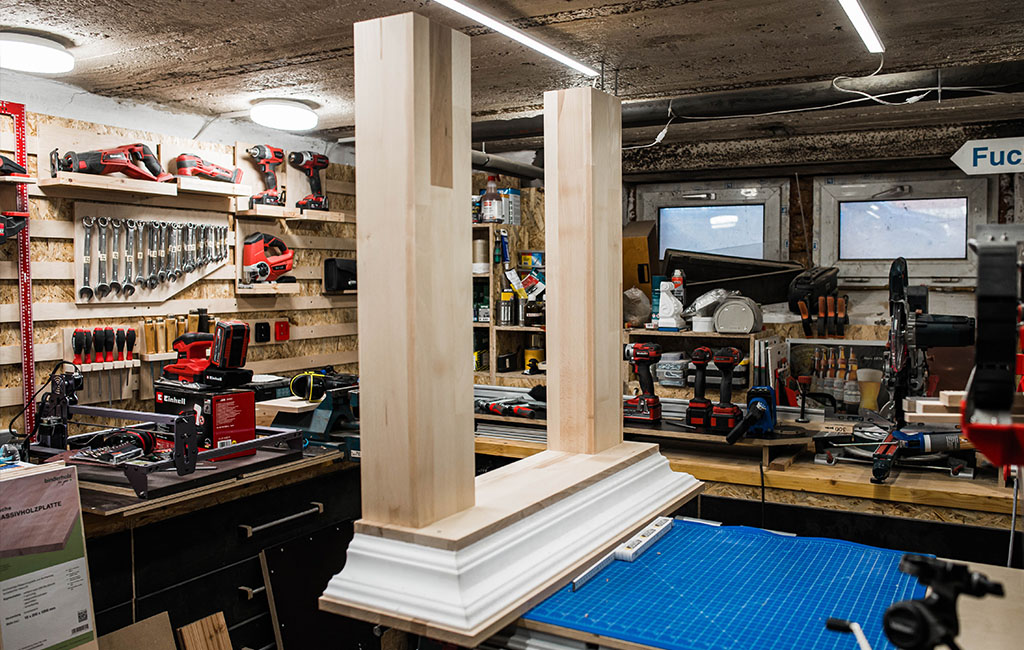
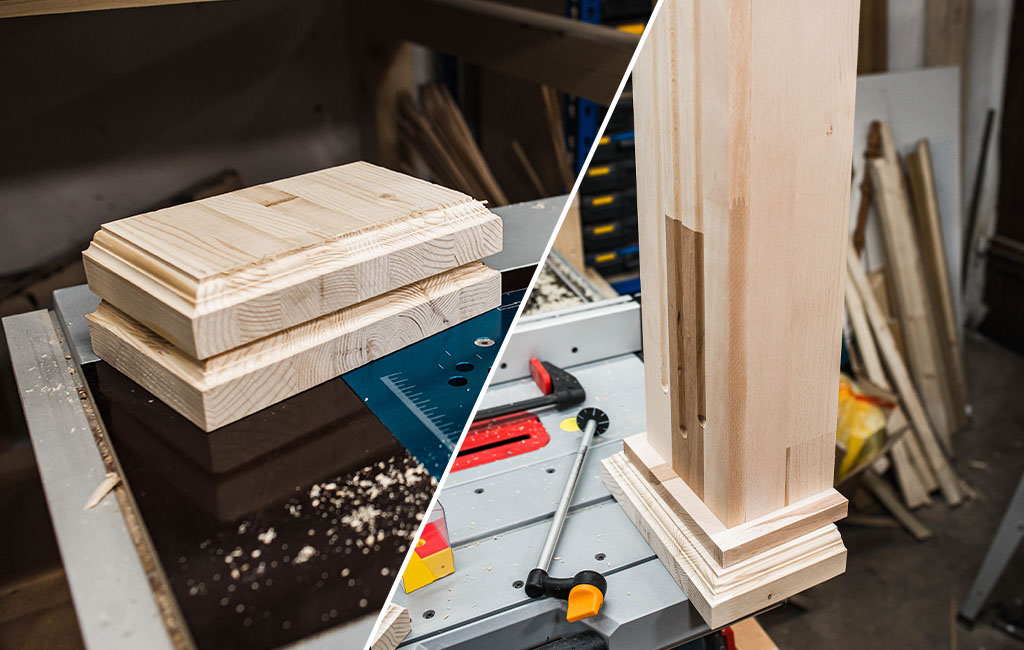
Step 4: Bases for the columns
To make the columns stand out visually from the base plate, we build two bases. These also take the skirting board into account, if there is one.
For this purpose, the bases are cut with a recess or offset so that they fit snugly against the skirting board. This allows the fake fireplace to stand neatly against the wall. The base plate is positioned slightly forward – in this example by around 20 mm. Make sure to allow for this when measuring. As this step is a bit more complex, it is advisable to set everything up in place first and check that all parts fit together properly.
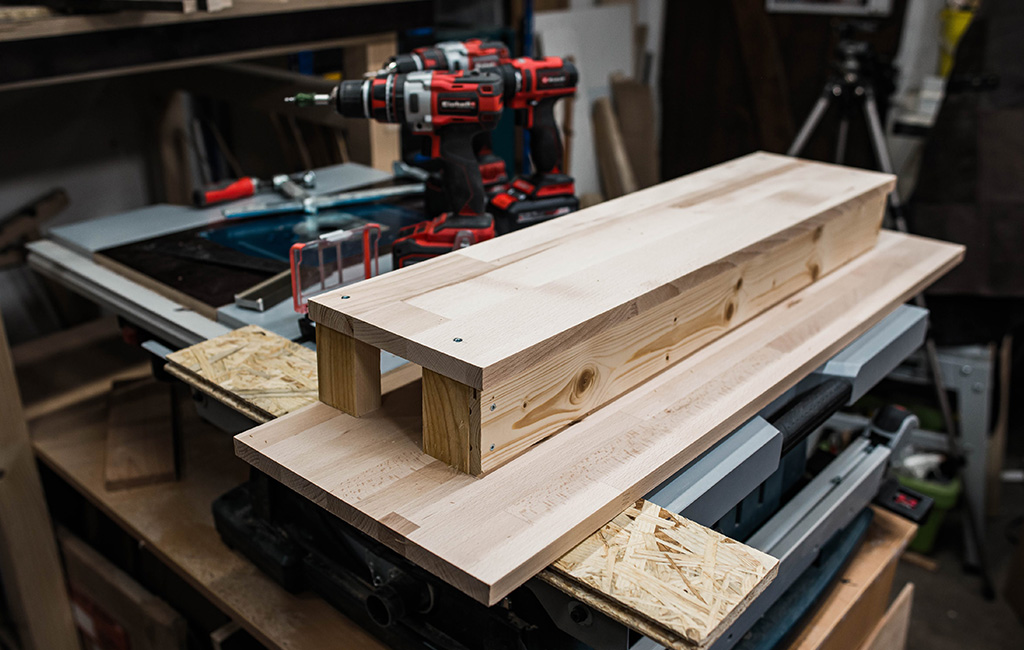
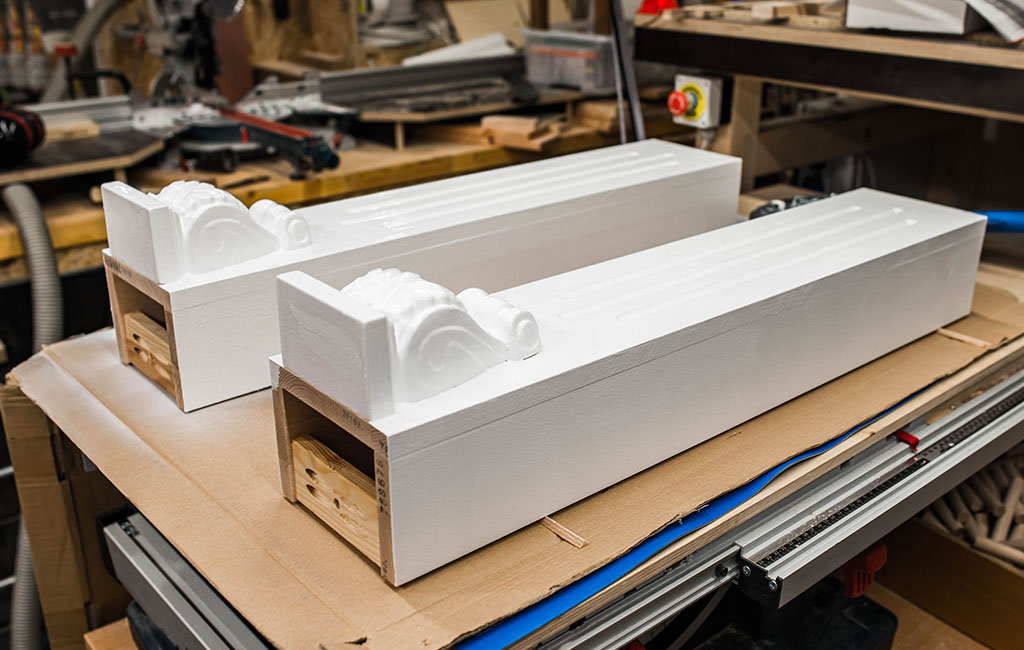
Building the top panel
The top is designed to look like a solid projection. To achieve this, we screw two solid wood panels together, one on top of the other. The distance between the two panels is defined by a decorative polystyrene moulding. This moulding is usually intended as a decorative element for the transition between ceiling and wall – essentially a fake plaster cornice. You can find various versions of these at DIY stores, usually in the wallpaper and paint section.
Start with the upper panel, as this determines the overall width of the fake fireplace. In this case, it is 1,000 mm wide and 300 mm deep. Next, check the dimensions of your polystyrene moulding to determine the required offset for the lower panel. In cross-section, the moulding forms an isosceles triangle, with its two short sides defining the amount of overhang in width and depth. You can also choose to set the lower panel slightly further in if you prefer.
Since the two panels of the top must be fixed at a stable distance apart and polystyrene is not load-bearing, a substructure was built from scrap wood. This substructure is hidden and serves purely to provide stability. Its height corresponds to the length of the short side of the isosceles triangle.
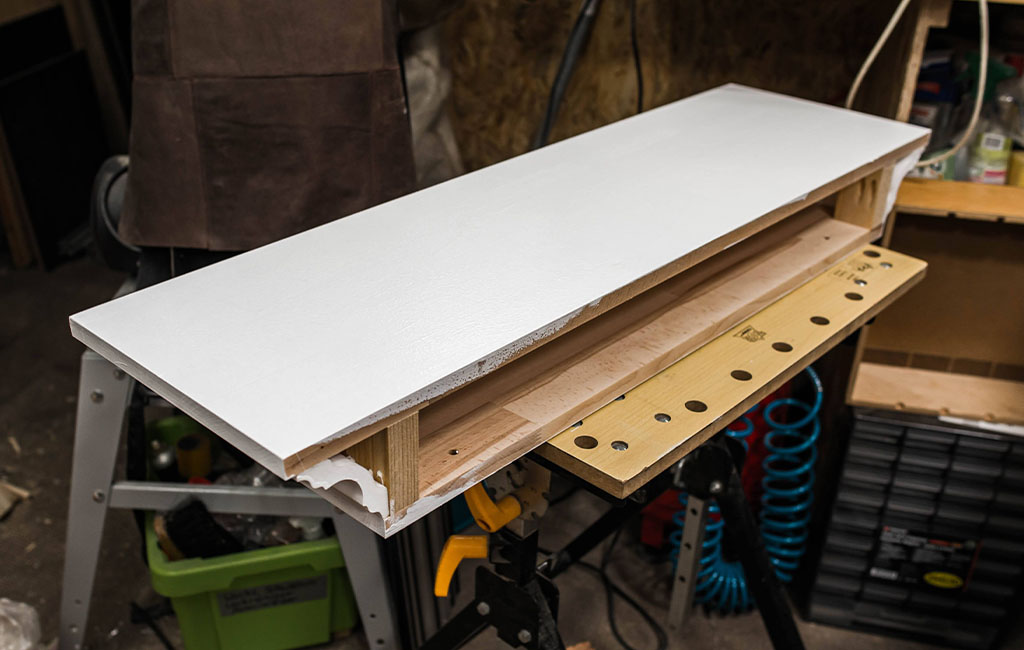
Building the base plate
As the fake fireplace is not fixed to the wall, the base plate must prevent it from tipping forwards. For this reason, the base plate is 400 mm deep and matches the width of the top section, i.e. 1,000 mm. Here too, 18 mm solid wood panels are used.

To soften the edge, it’s best to chamfer it. There are several ways to do this, for example using a profiling cutter with a convex or concave shape. Compared with a standard 45-degree bevel, this gives the edge a more decorative finish.
On the underside, use a Forstner bit to drill recesses for the M6 screws. This ensures the plate lies flat without the screws protruding or getting in the way.
Final touches
Finally, the construction needs to be painted. A water-based PU lacquer is recommended, as it is particularly hard-wearing and safe for use on children’s toys. When choosing the lacquer, make sure it is non-toxic, safe for health and saliva-resistant.
You can apply it with a traditional paintbrush or with a roller. The polystyrene moulding can also be painted easily. For the best result, apply two coats of lacquer and sand lightly between them.
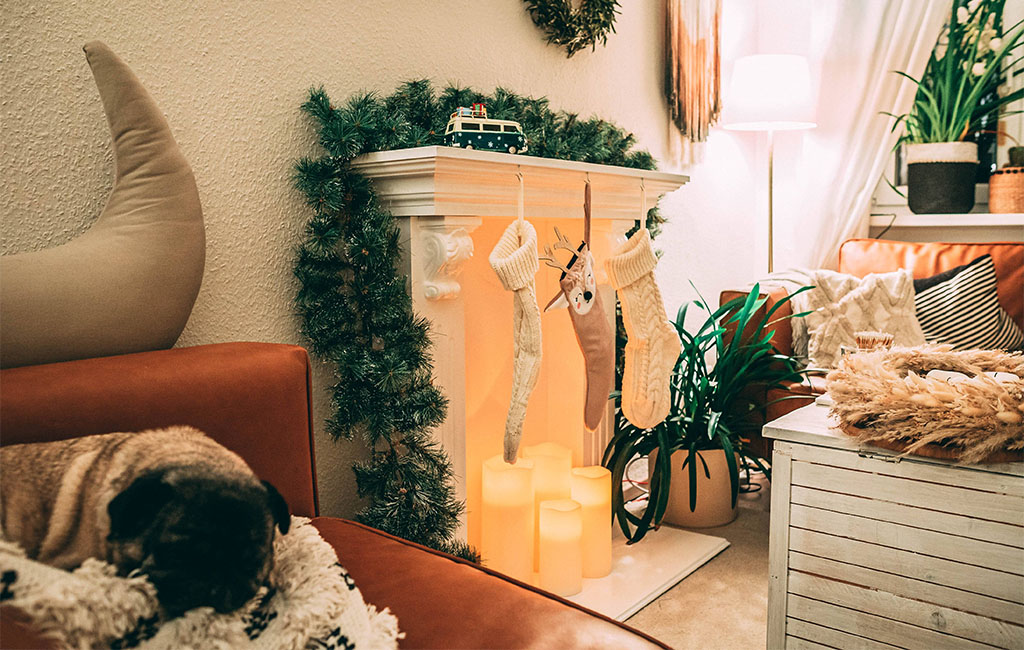
Result: Cosy atmosphere thanks to the fireplace
And that’s it – your fake fireplace is finished! Simply set it up, add a few decorative touches such as candles, branches or stockings, and you’ll soon be enjoying the cosy atmosphere in front of your new fireplace.
Have fun building it yourself!
Suitable Tools for the Project
Here you'll find Einhell tools and accessories that are perfect for bringing this DIY project to life.


In this article you will learn all about:

Published on 20.12.2021
From professional to professional: With their expertise in garden care, our garden specialists help you create your perfect green oasis. Daniel Laqua is a freelance blogger and a passionate hobby gardener. Whether it's lawn care, hedge trimming, or irrigation – in his blog posts, you'll find all the essential information about Einhell devices for the garden and terrace.