


Find out how to: Easily remove and replace silicone sealants
Silicone joints play an important role in the home, because they protect against water and moisture. They are mainly found in the bathroom and kitchen, for example as seals around the bath, the shower or the sink. However, as with all materials that come in regular contact with moisture, over time the silicone becomes brittle and starts to leak. Moreover, old silicone sealants can discolour and are often covered in mould. By this point, you should act quickly, because mould infestation can be harmful to your health. In principle, you should check silicone joints regularly and replace them when necessary. In this post, you will learn how to cleanly remove and renew the silicone. We also give you valuable tips on tools that will make the job much easier.
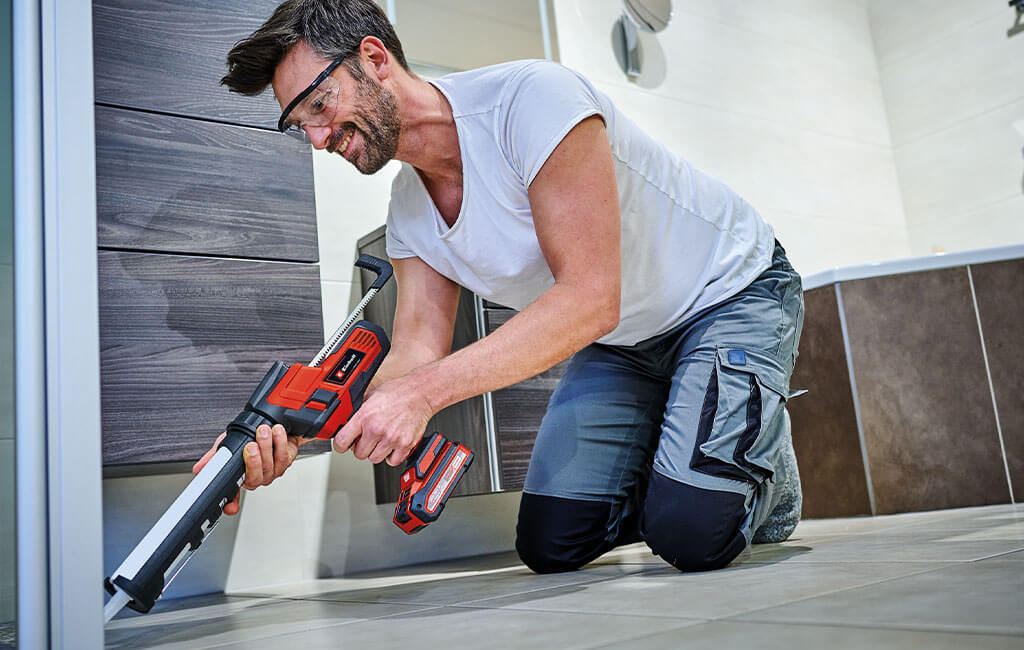
The cordless sealing gun is a tool that should not be missing when renewing silicone joints.
When should silicone sealants be replaced?
Silicone: a durable sealant
Silicone joints are found in any bathroom or kitchen. As unremarkable as they appear, they perform an important task. Often, the silicone joint serves as a seal against moisture and humidity so that, for example, water from the shower does not get between the tiles and the wall. This is why you will mainly find silicone for sealing showers, bathtubs and sinks, or as a sealant between the tiles and wall. But don't worry: When installing, for example, a shower tray, the silicone caulk is of course not the only seal. Normally, showers and bathtubs are installed using sealing tapes which provide additional moisture protection for the wall - even if the silicone does eventually start to leak.
What many don't realise is that the silicone joint also functions as an expansion or movement joint. This means that it is responsible for compensating for minor movements such as expansion, compression and tensile stresses between two surfaces. Silicone can withstand a lot more than other grouting materials before it tears or breaks. For example, if the floor and wall are tiled, silicone is applied to the edge where they join, because otherwise the stresses from vibration or the normal settling of the building would cause cracks over time. Silicone's excellent elasticity and good adhesive properties make it the optimal material that can also withstand fluctuations in temperature, movements of the substrate and other stresses. At the same time, silicone also dampens the transmission of sound and vibrations.
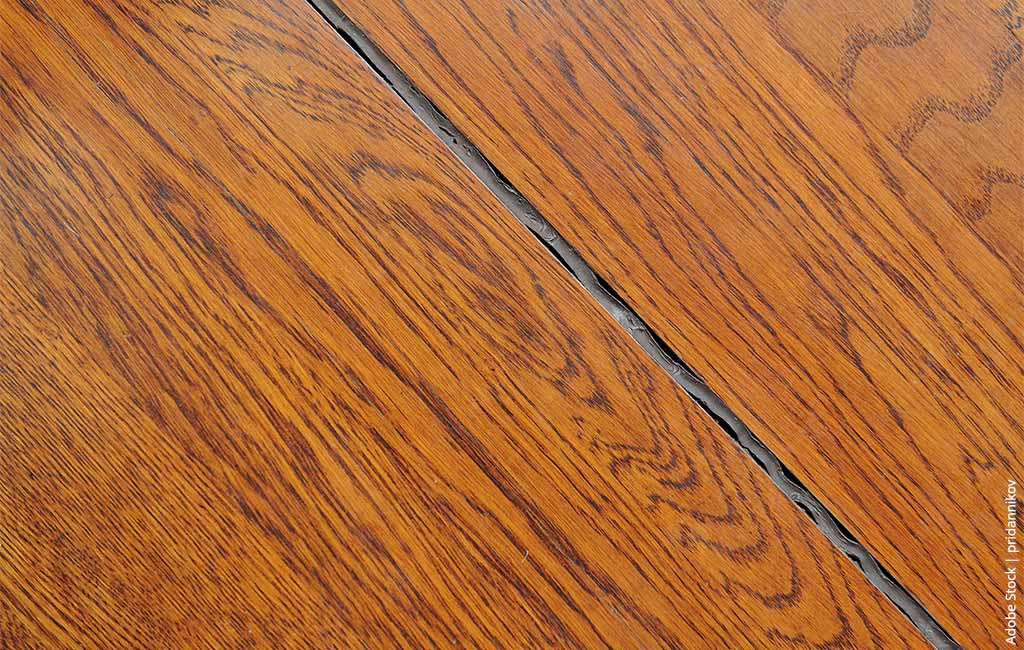
Incidentally, expansion joints are normally found at transitions between two rooms, especially when different flooring materials, such as tiles and laminate flooring, meet. Furthermore the silicone joints between a tiled floor and the wall are also considered to be expansion joints. Silicone is also used as an expansion joint when attaching radiators or fittings such as sinks and toilets to a tiled wall.
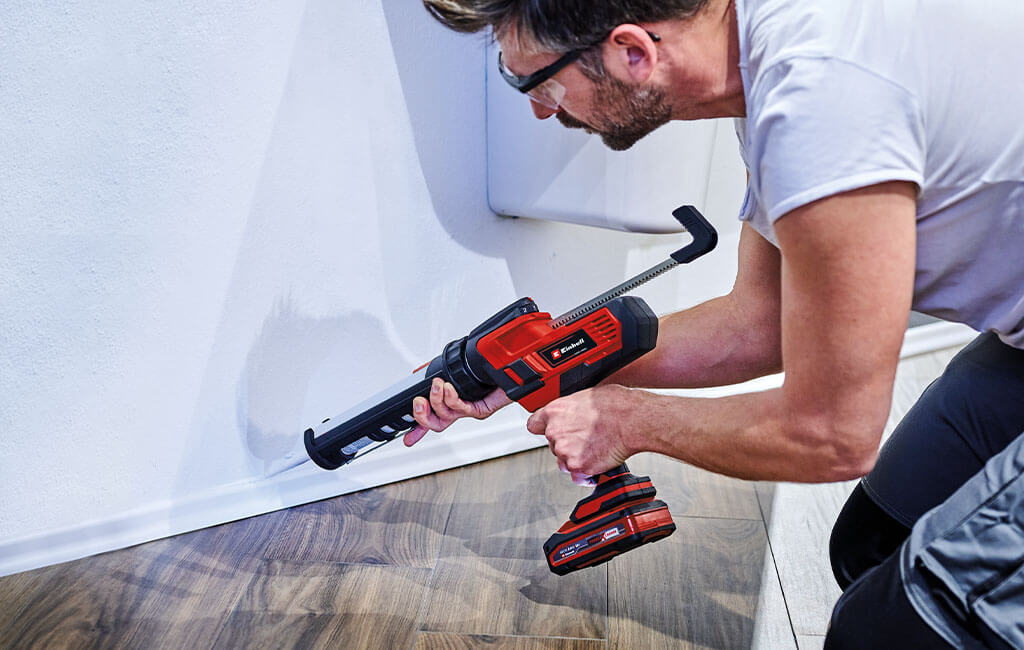
Silicone is often used as a material for expansion joints, for example between baseboards and walls.
Brittle, broken silicone joints
As a building material, silicone is very tough and resistant; it can withstand both cold and heat, as well as moisture, without any problems. But over the years, it loses its elasticity and becomes brittle. By the time cracks form in the silicone caulks, they should be renewed, if not before. If the material is cracked, moisture can penetrate and, in the worst case, lead to mould infestation and moisture-related damage.
To prevent such damage, silicone joints should be checked regularly - for example, when cleaning the kitchen or bathroom. This way, cracks can be detected and eliminated at an early stage. It is generally recommended to renew silicone joints every 5 to 8 years at the longest.
If the silicone sealant is cracked and leaking, it should be replaced.
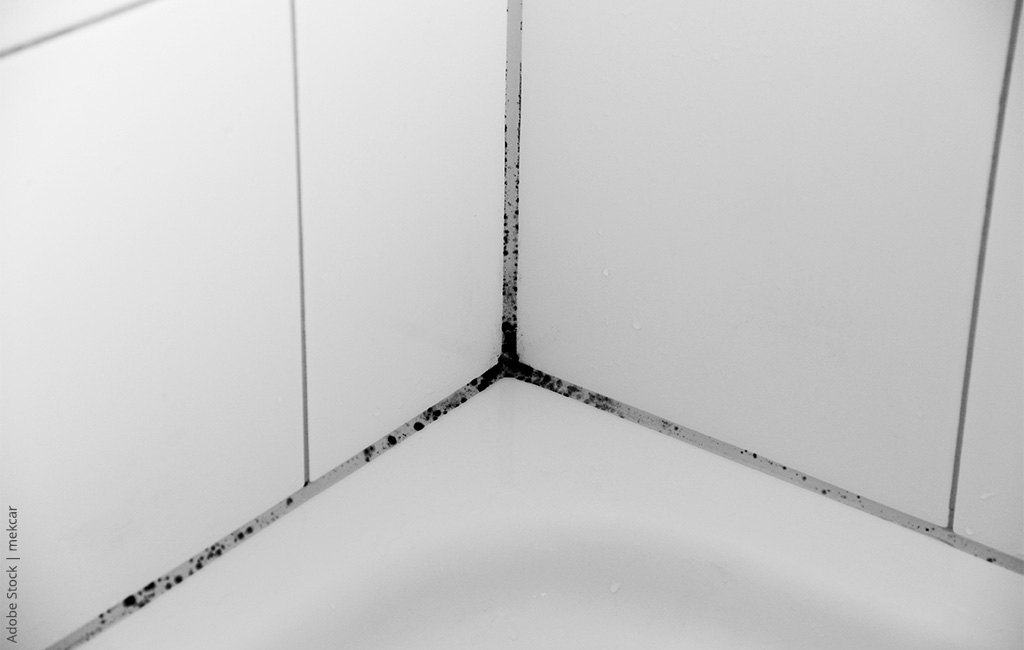
If mold forms on the silicone sealant, it needs to be replaced as soon as possible.
The right way to remove old silicone
Removing silicone can be tedious – but it doesn't have to be. If you have the right tools to hand, the old joints can be renewed in no time. Instead of using a utility knife to cut away the old sealant by hand, you can also use a multifunctional tool. But before you get started, you should first clean the surfaces surrounding the joint.
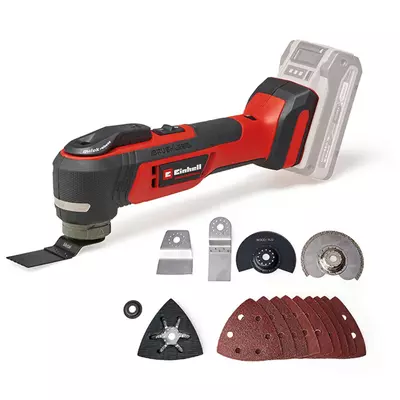
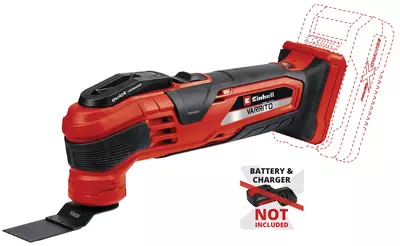
Then the multifunctional tool comes into play. This handy device – such as the Einhell cordless multifunctional tool VARRITO – uses a scraper to remove the old silicone. The multitools are known as oscillating tools. This means that the installed accessory (e.g. scraper, saw blade, sanding shoe) oscillates, i.e. moves in small back and forth motions, with an oscillation angle of up to approximately 3.2°. This vibration loosens the material and removes it from the joint. To avoid scratching the adjacent tiles or other surfaces, you can apply tape to the area around the joint beforehand.
Afterward, you can carefully scrape off any remaining silicone residue. Before replacing the sealant, make sure that all remnants of the old silicone have been removed and that the surfaces are clean. This is the only way to ensure optimal adhesion of the new silicone caulk.
- Tip: When working around sinks, showers or bathtubs, you should block the drain first. This prevents the old silicone from getting into the wastewater.
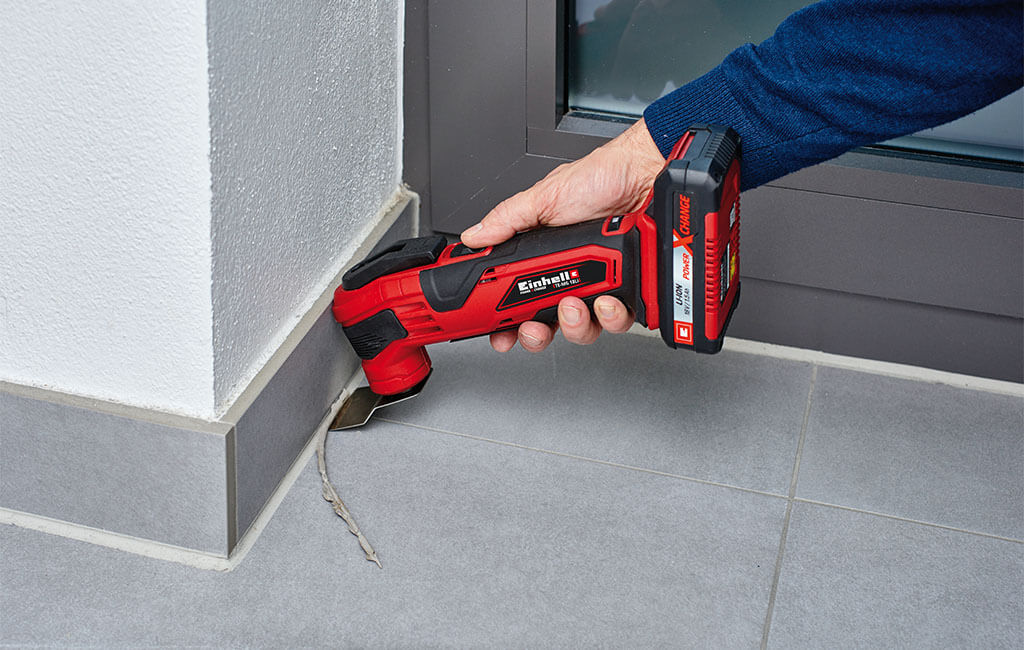
The silicone can be easily removed from the joint using a cordless multifunctional tool.
Step-by-step instructions: How to renew silicone joints?
Step 1: Preparation
Once all the old sealant has been removed and the area is clean, you can tape the area around the joint. Then you should prepare your sealant and sealing gun – these are available as manually operated mechanical versions or as automatic cordless tools. The silicone normally comes in the form of a cartridge. This is usually equipped with a dosing tip, which you have to screw onto the cartridge and cut off (at an angle). The material is pushed out of the cartridge by pressure. This pressure is applied using a mechanical or cordless sealing gun. Before applying the silicone, you can also use a primer to improve adhesion.
Step 2: Fill joints with sealant
Now the silicone has to be applied to the joint. To do this, insert your cartridge into your mechanical or cordless sealing gun and cut off the end of the dosing tip. The point where you should cut depends on the width of the joint and how much material you want to dispense at a time. If you make the diagonal cut close to the narrow tip, less silicone will flow out of the cartridge. Make sure that the joint is well filled; it's even better to overfill it by about 2 mm. You will have to remove the excess silicone anyway in the next step. Then apply the sealant to the joint, always with the tip pointing forward. With a mechanical caulking gun, you have to squeeze the handle manually to force the silicone out of the cartridge; a cordless sealing gun does this for you automatically.
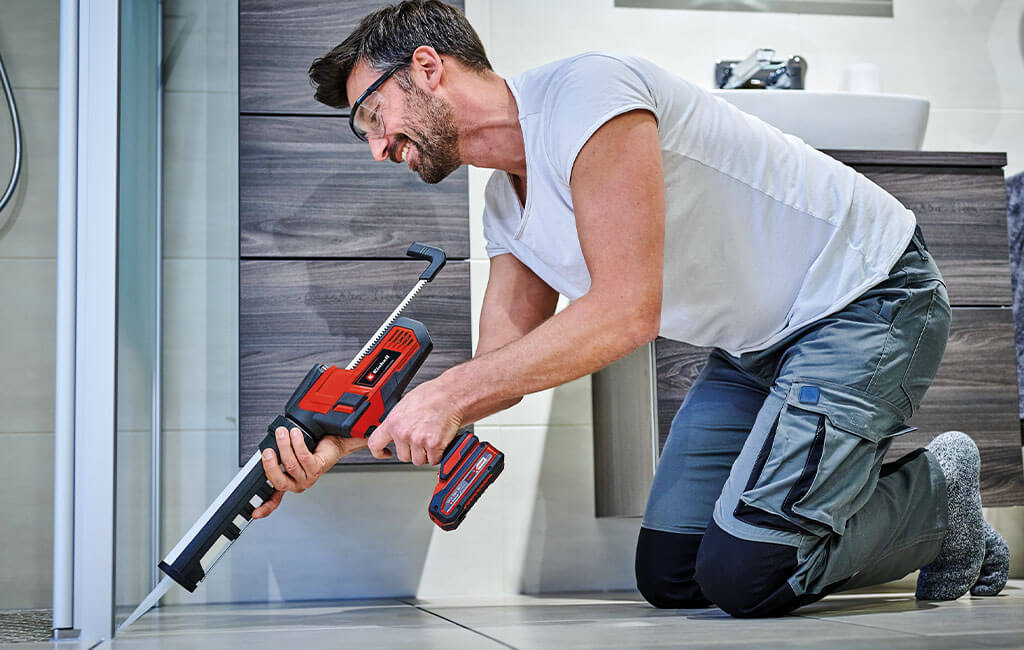
One hand on the cartridge, the other on the trigger - this gives you perfect control over the caulking gun.
Step 3: Smoothing the joint
Once you have applied the new silicone to the joint, you must work quickly through the next step so that the material does not dry too fast. For a perfect joint, you must first remove the excess material. To do this, spray the silicone sealant with a mixture of water and detergent. Then the best way to smooth the joint is with a joint smoothing tool. You can gently even out and smooth over minor irregularities with your finger. Before doing so, you should spray your finger with soapy water, as with the joint itself.
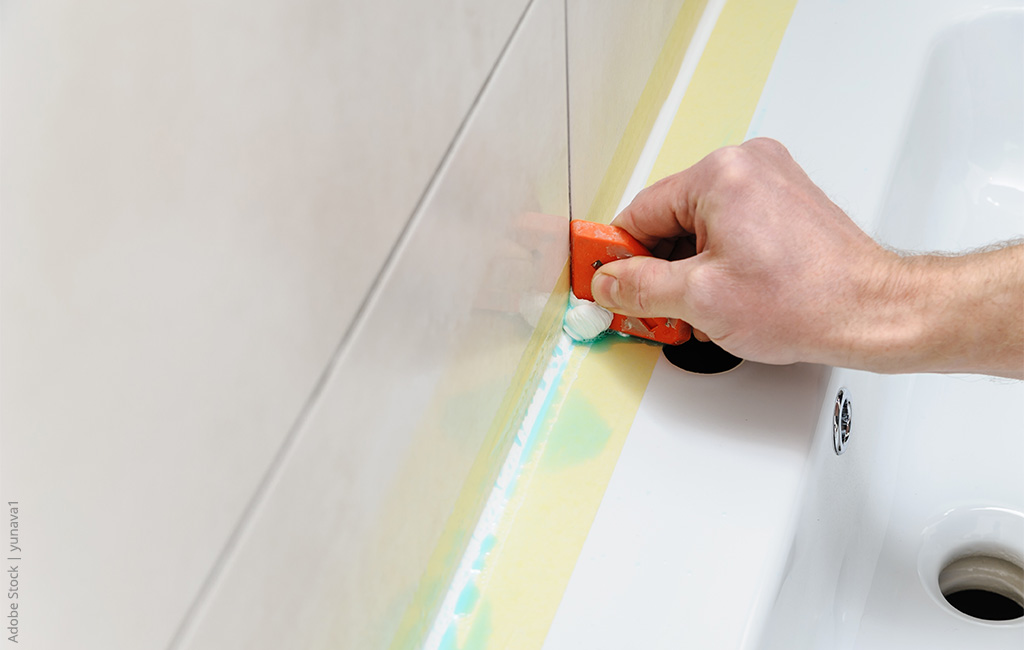
All you need to smooth out the silicone sealant is soapy water and a caulking tool.
Step 4: Allow to dry sufficiently
Before letting the joint dry, you should remove the masking tape. If you wait until the joint has already dried before you pull off the tape, you risk tearing or damaging the silicone, causing it to leak. Conventional silicone dries in a short time, usually within 10 minutes. This means you have to work very quickly between applying the silicone and removing the masking tape. You should check the information on the respective cartridge to find out how long the silicone takes to cure completely. As a rule, however, you should wait 24 hours before allowing the new joint to come into contact with water.
- Tip – Avoiding a mess: If you adjust or put down the sealing gun between applications to individual joints, you should always release the tension spring. Otherwise, the force from the tension spring may push more silicone out of the cartridge.
Advantages of the cordless sealing gun
Mechanical caulking guns have one major disadvantage: to push the material out of the cartridge, you have to manually squeeze the hand lever each time. If the construction material you are using is very viscous, this can take a lot of energy and effort. Furthermore, the material, for example silicone, comes out in spurts with each individual squeezing action; that is to say rather unevenly. This is where the Einhell cordless sealing gun TE-SG 18/10 Li, for example, can help. The cordless sealing gun is suitable for all standard cartridges (310 ml) and provides a steady squeezing force of up to 2,000 N. The rate at which the push rod moves forward is set by the speed of rotation. This determines how quickly and how much material should be dispensed.
The cartridge holder can be rotated, so you can work comfortably from any position. So no matter whether you need to reach a joint in a certain corner or difficult niche, from the left or right: you simply rotate the cartridge with the cartridge holder and always choose the best angle for you to work from. The automatic push rod retraction mechanism also ensures that material doesn't drip when you put the tool down.
The cordless sealing gun weighs 1.8 kg due to the extra technology. So while it obviously weighs more than a mechanical sealing gun, it also offers a variety of other advantages. Here is an overview:
- The material is dispensed automatically, you do not have to squeeze a lever.
- The rotatable cartridge holder allows you to work from any angle or position.
- The automatic retraction mechanism prevents material dripping during pauses.
- The rate at which the material is dispensed can be easily adjusted by turning a dial.
- An integrated LED light provides optimal illumination of your work area and the joint.
- Thanks to its slim design and soft grip, the cordless sealing gun fits securely and comfortably in the hand.
- Even a small, lightweight battery such as the 1.5 Ah rechargeable battery is enough to finish 128 cartridges (310 ml each). So you can grout the kitchen, bathroom and any other room on just a single charge of the battery.

In this article you will learn all about:

Published on 15.04.2023
Marina Liefke is an Online Editor at Einhell, where she deals with virtually all texts related to tools, garden equipment, and accessories. She acquires the necessary know-how through practical product training and close collaboration with the Einhell product managers. Her favorite tool is the PRESSITO cordless compressor because when the air is running out, it pumps it right back in.