

In this article you will learn all about:
Tools and materials
Tools
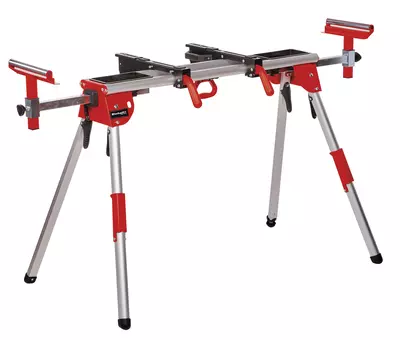
- Cordless sliding mitre saw with saw base frame
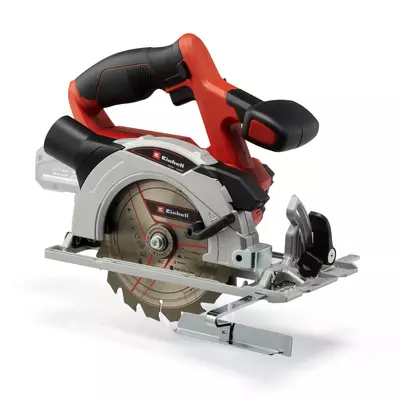
- Cordless circular saw
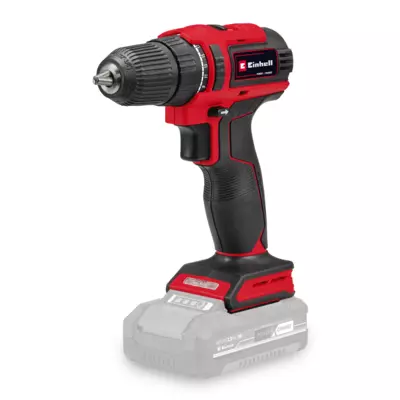
- Cordless impact drill
- Cordless drill
- Hand saw
- Spanner and ratchet
- Paintbrush
Materials
- 4x spruce laminated timber, 12 × 12 × 260 cm (posts)
- 2x spruce laminated timber, 12 × 20 × 485 cm (purlins = the horizontal load-bearing beams resting on the posts)
- 11x spruce glued laminated timber, 6 × 16 × 360 cm (rafters = the roof beams running across the top)
- 4x flat-head chipboard screws, galvanised, 8 × 360 mm
- 22 x chipboard screws with flat heads, galvanised, 8 × 300 mm
- 4 x H-anchors, 121 mm
- 4 x screw sets for 121 mm H-anchors (2 x screws, 2 x nuts, 4 x washers)
- 15 bags of ready-mixed concrete
- 2 x 2.5 l wood stain
Step-by-step guide
Step 1: Preparations
Before you can get started, you first need to decide on a design and determine the dimensions.
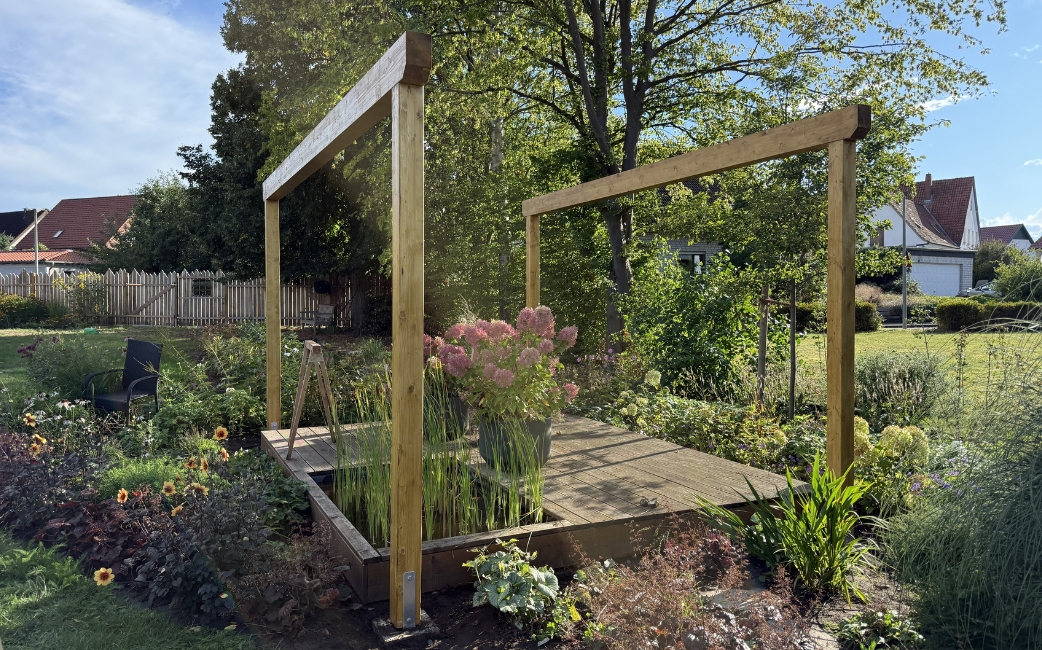
The size of our pergola was dictated by the dimensions of the wooden decking beneath it. To ensure safety, the structure requires concrete foundations. That is why our posts do not stand directly on the wooden decking, but to the side of it. This leaves enough space for the four foundations.
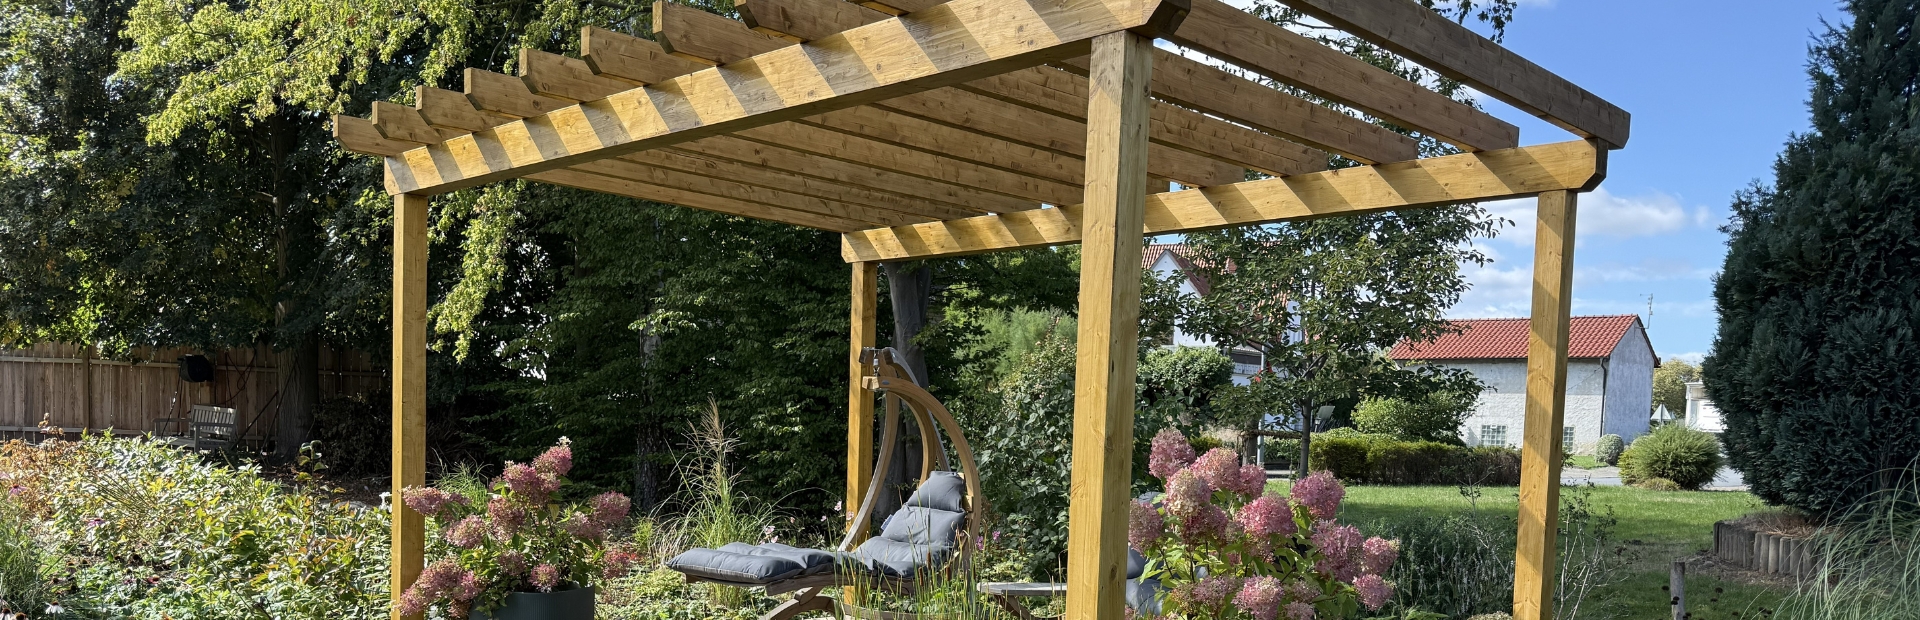
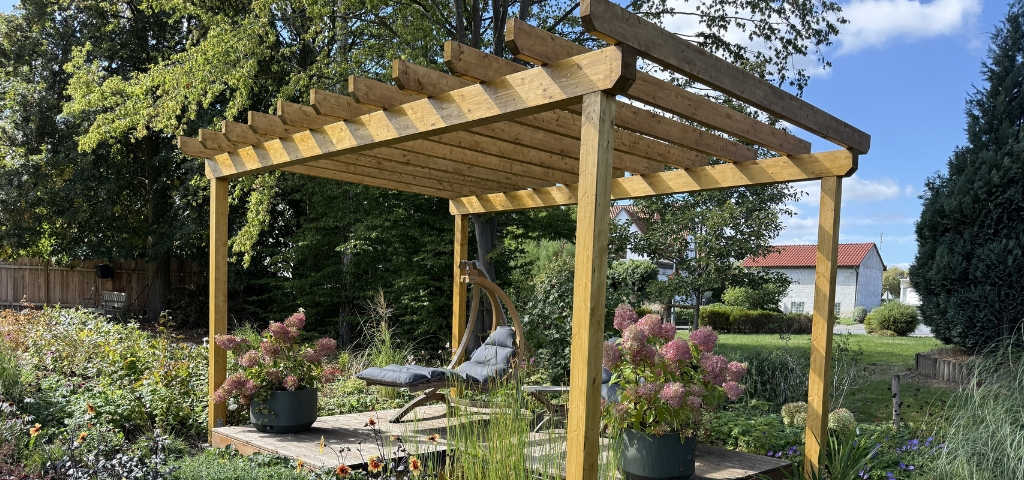
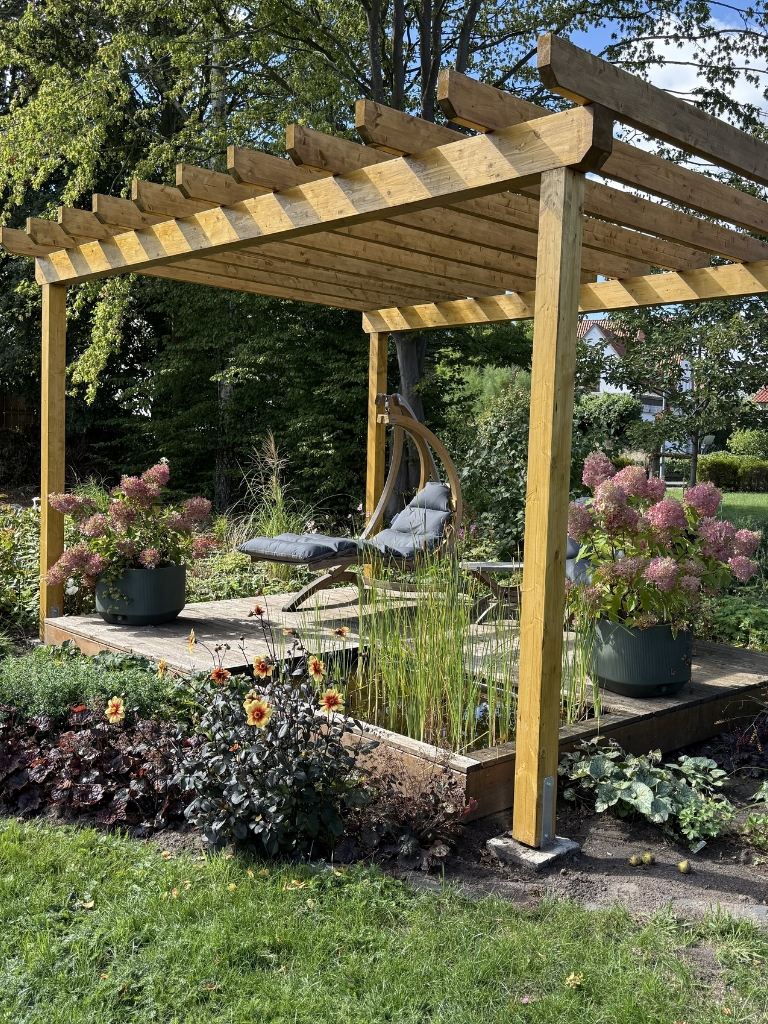
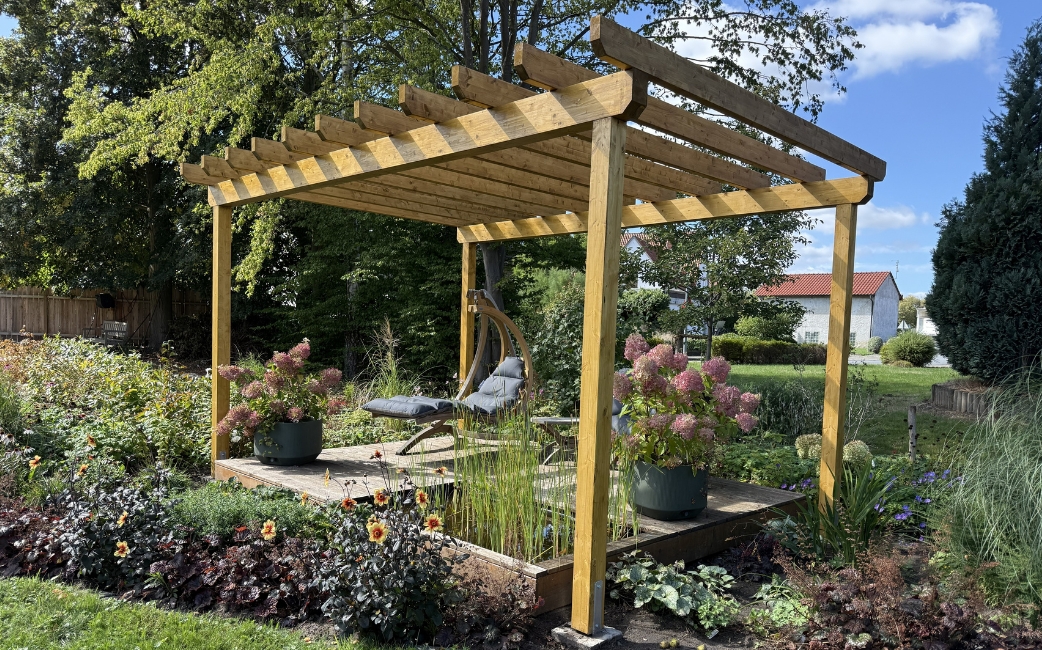
Our pergola consists of four posts, two purlins (support beams) and eleven rafters (roof beams). It measures 4.9 m × 3.6 m and has a height of 2.85 m. That’s relatively high for a pergola. In our case, however, this height makes sense, as the wooden deck itself is already about 25 cm above the ground. If you want to enclose a ground-level patio, you can opt for a lower height.
Step 2: Selecting and trimming the material
You can find compatible wood for building your pergola at a timber merchant or DIY store. We opted for laminated spruce. More durable, but also more expensive, alternatives include larch or Douglas fir.
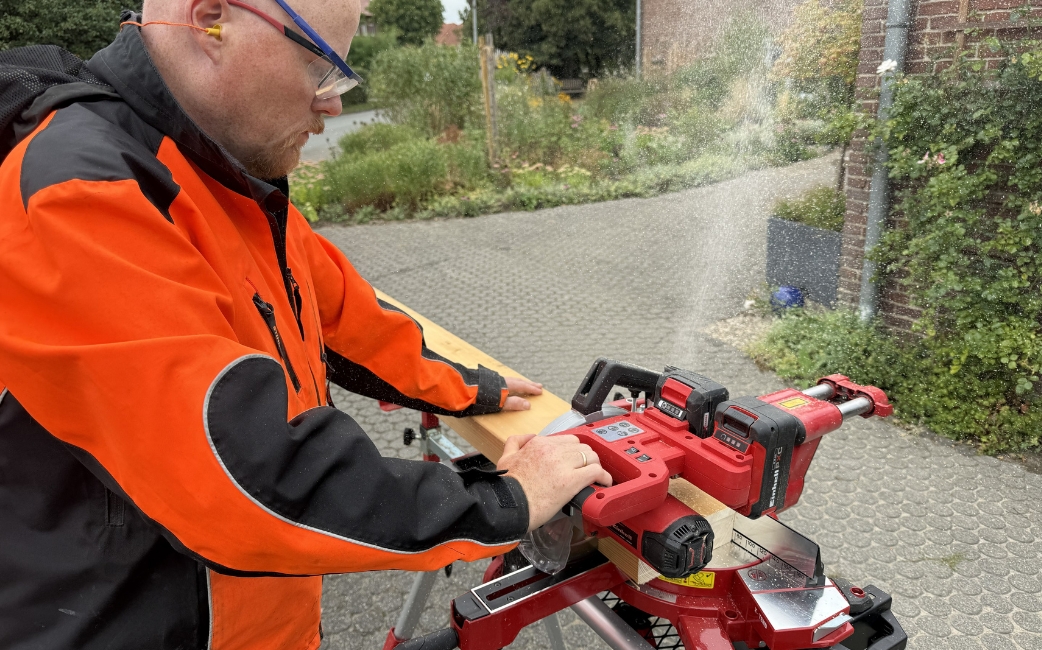
Cut the wood to the required length. For the posts and support beams, use the cordless circular saw; if necessary, you can also use a hand saw. For the roof beams, you can use the cordless battery-operated pull-cut mitre saw.
For a particularly attractive finish, you can chamfer the ends of the support beams and roof beams. Use the cordless circular saw to chamfer the support beams and the cordless battery-operated sliding mitre saw to chamfer the roof beams.
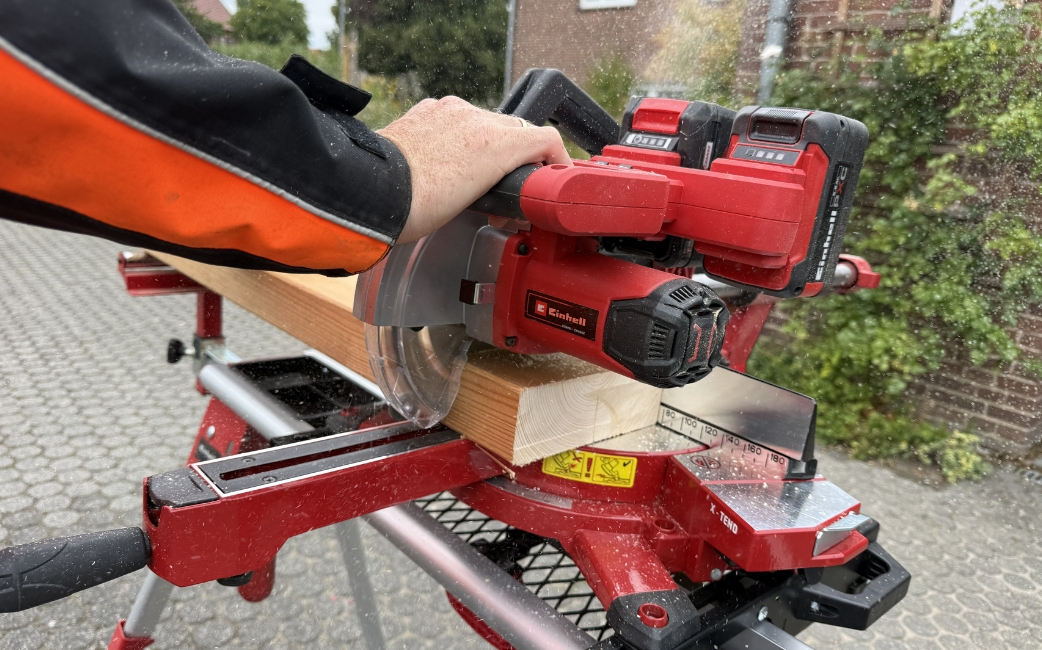
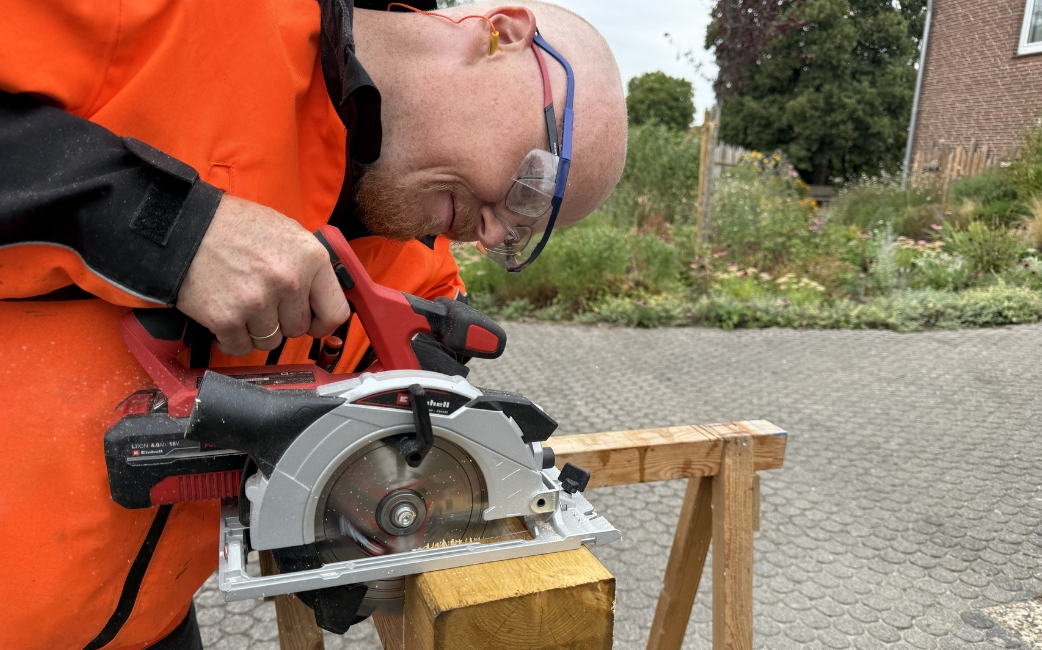
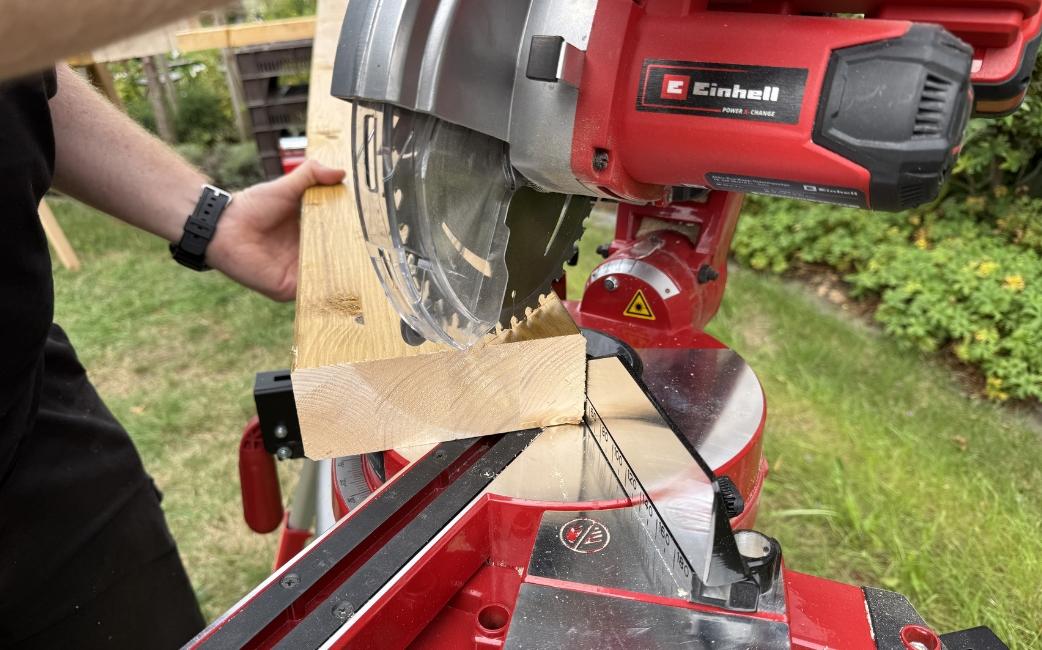
Step 3: Painting
To ensure the wood is permanently protected from the elements, you should make sure to apply two coats of a suitable wood preservative to all sides. Allow the wood to dry thoroughly after each coat.
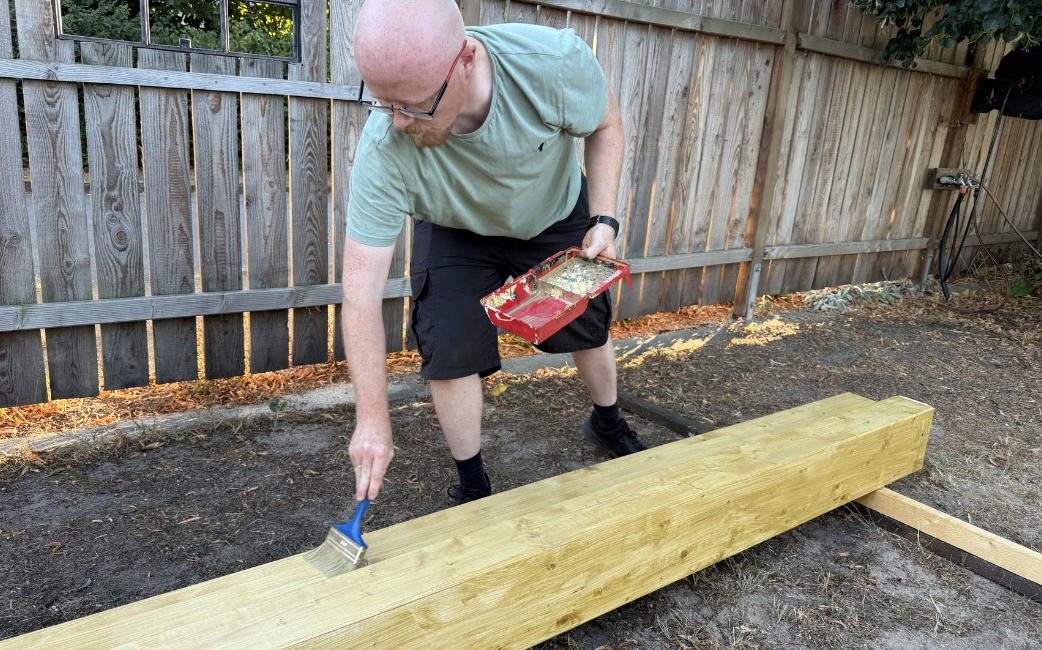
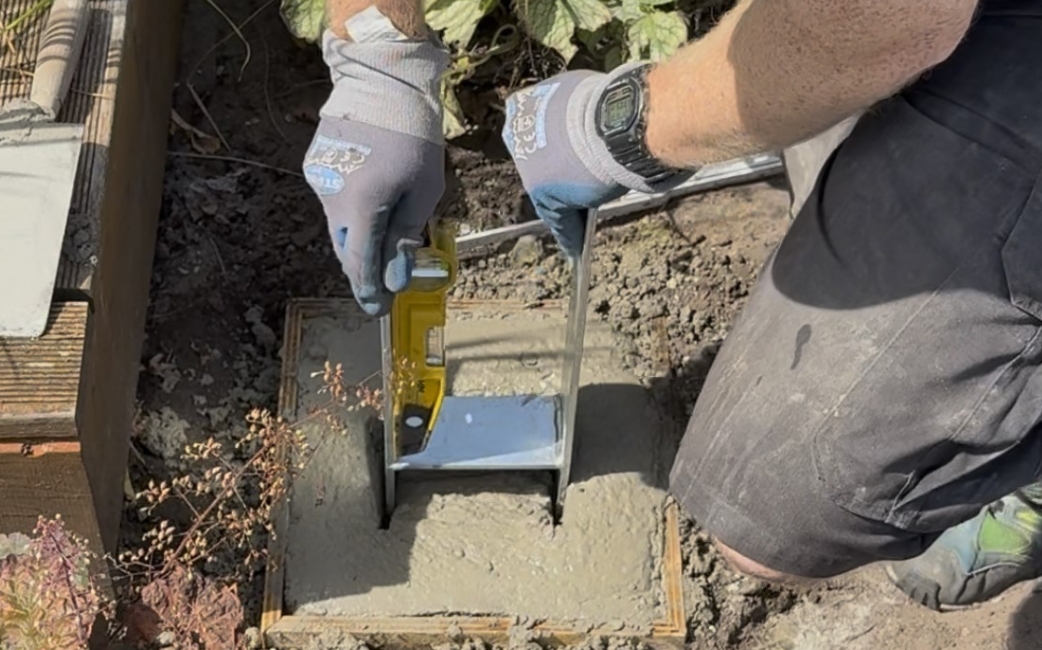
Step 4: Building the concrete foundations
To build the foundations, dig four holes measuring 30 × 30 × 60 cm. Fill these with ready-mixed concrete and then insert the H-post anchors. To ensure the anchors do not shift whilst the concrete sets and are precisely aligned afterwards, temporarily secure them with a few wooden slats. Once the concrete has set, you can remove the temporary support structure.
Step 5: Fitting the posts
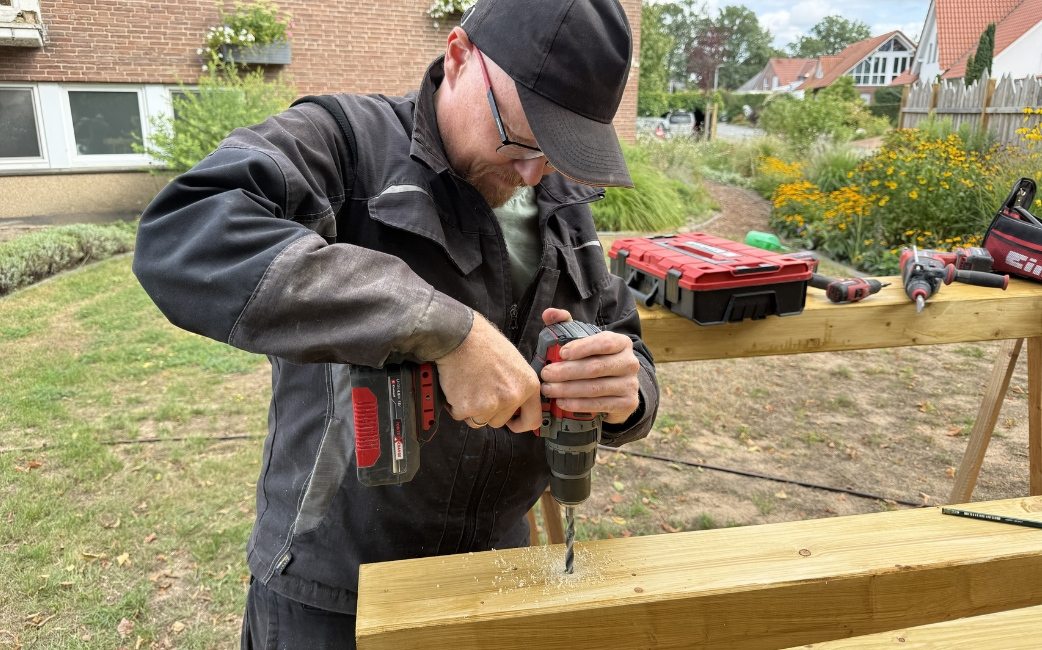
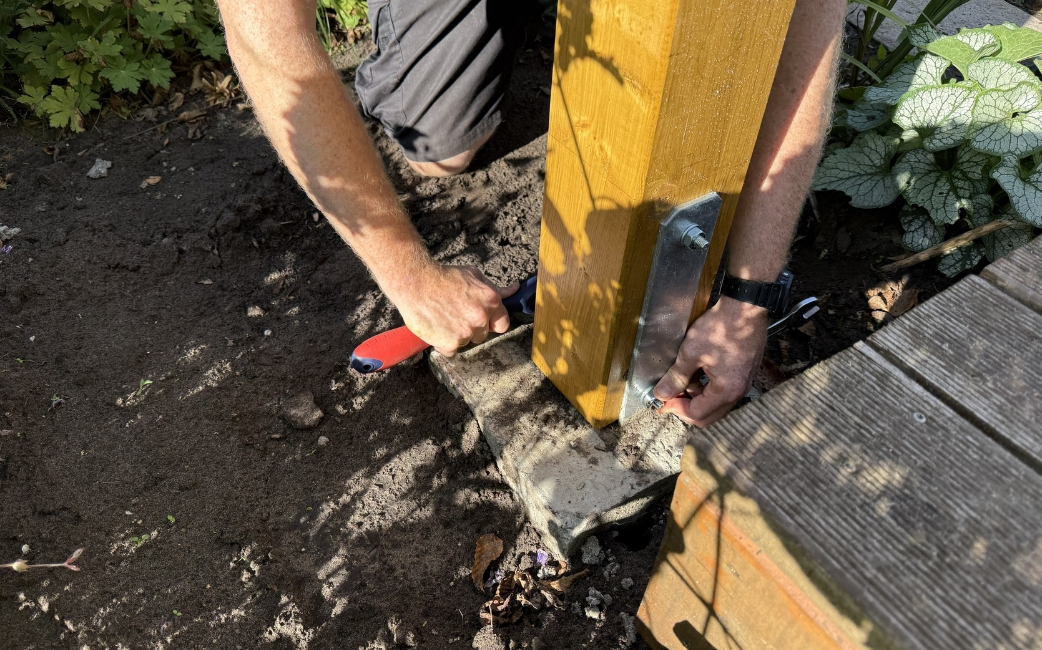
To screw the posts into the H-anchors, use the cordless impact drill to perform two drills. Then secure the posts using the compatible set of two screws, two nuts and four washers. You will need a spanner and a ratchet for this.
Step 6: Fitting the support beams
Drill the necessary holes into the support beams as well.
It’s best to get some help for the subsequent assembly.
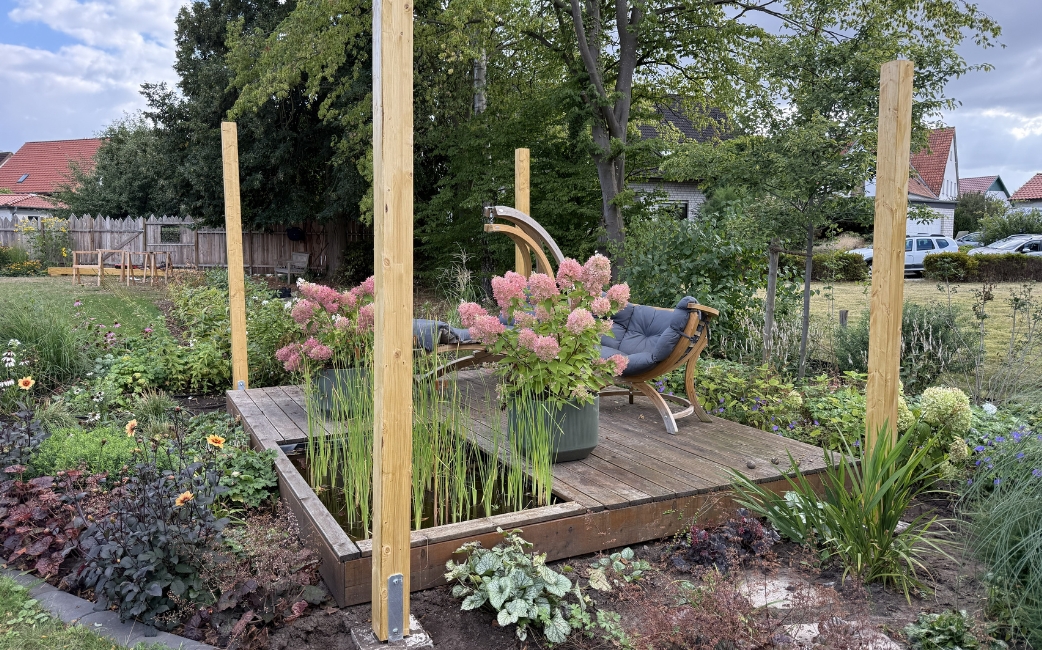
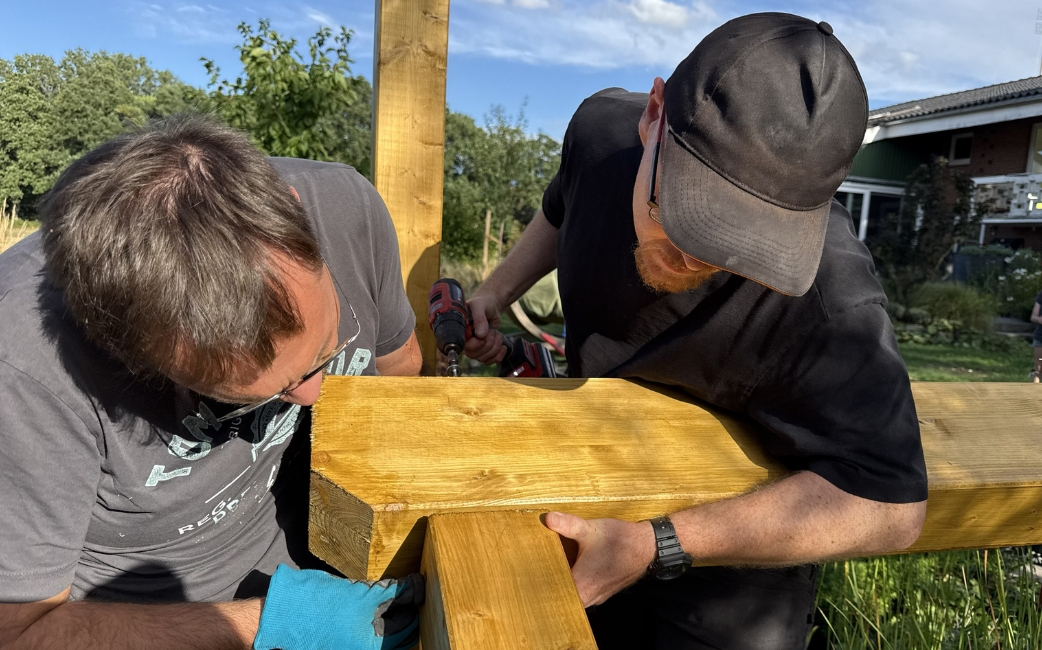
First, loosen the lower screws securing the posts to the H-brackets so that the posts can be tilted slightly. In this position, you can easily attach the support beams to the posts using the cordless drill. Use the 360 mm long flat-head screws for this.
Next, align the two posts together with the fitted support beam and screw them securely back into the H-anchors.
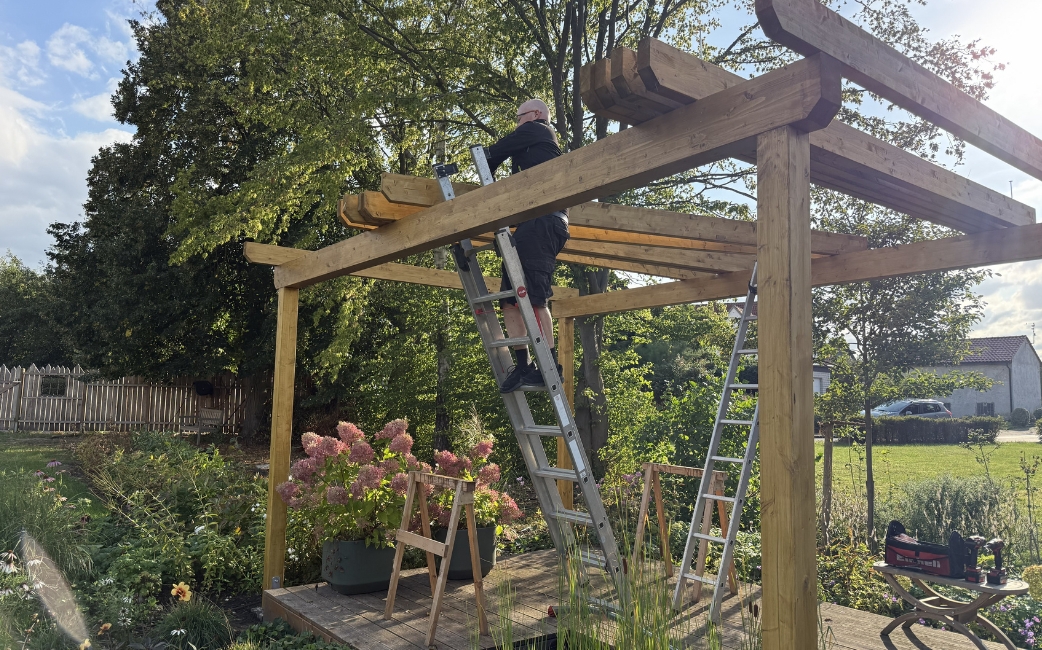
Step 7: Fitting the roof beams
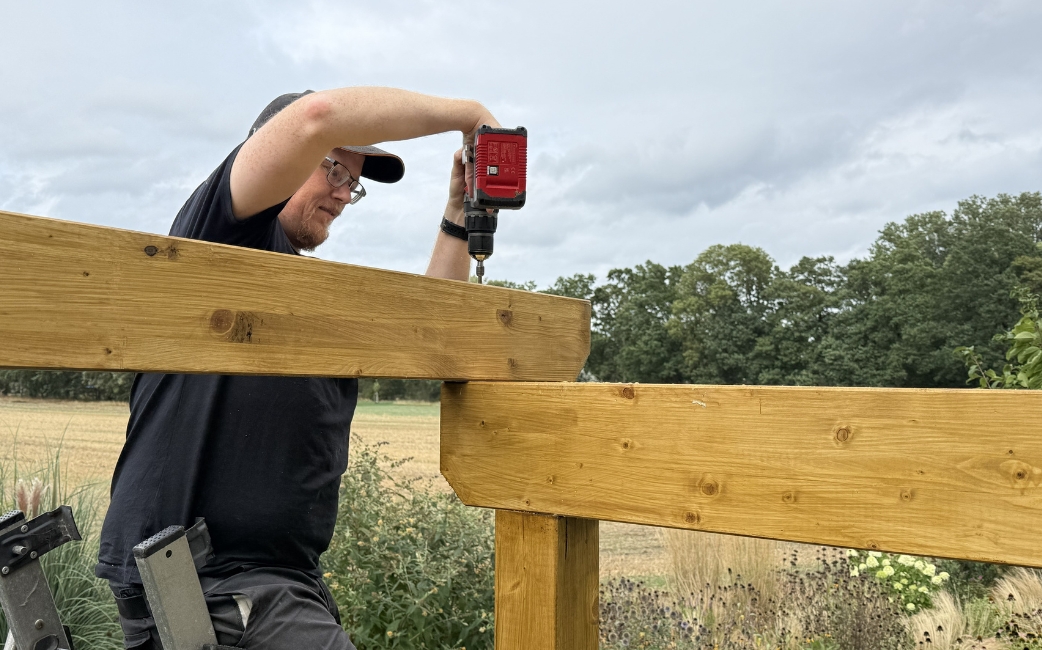
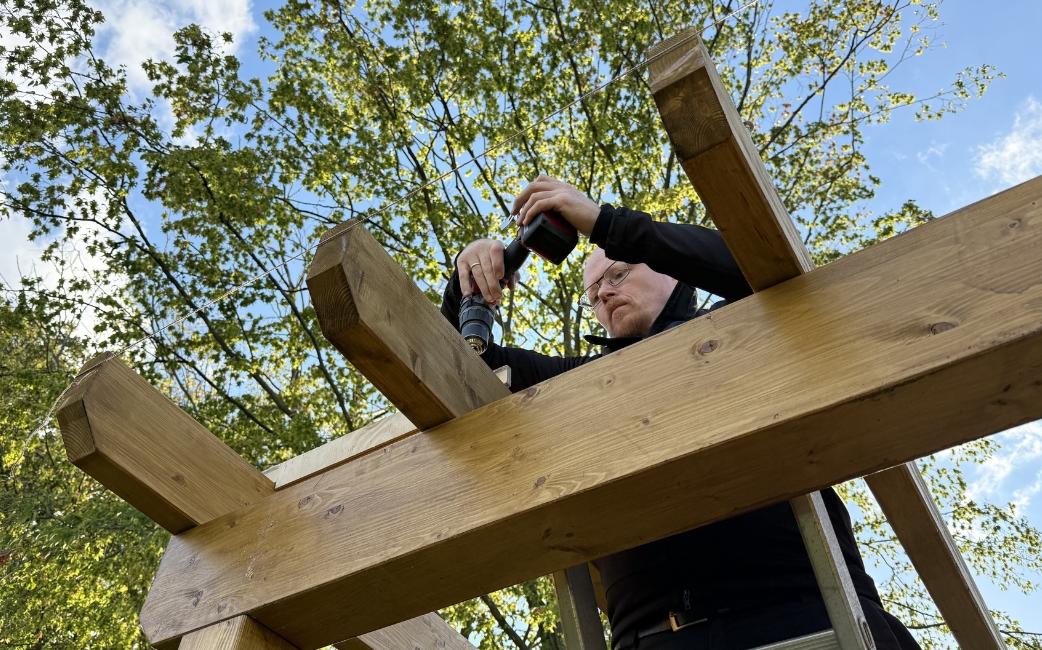
Before you fit the roof beams, perform the necessary drilling.
Then start by fitting the two outer roof beams. Use the screws with a 300 mm length for this. Once these are secured, you can fit the nine remaining roof beams in between. Make sure to maintain an even spacing between all the roof beams to create a harmonious overall look.
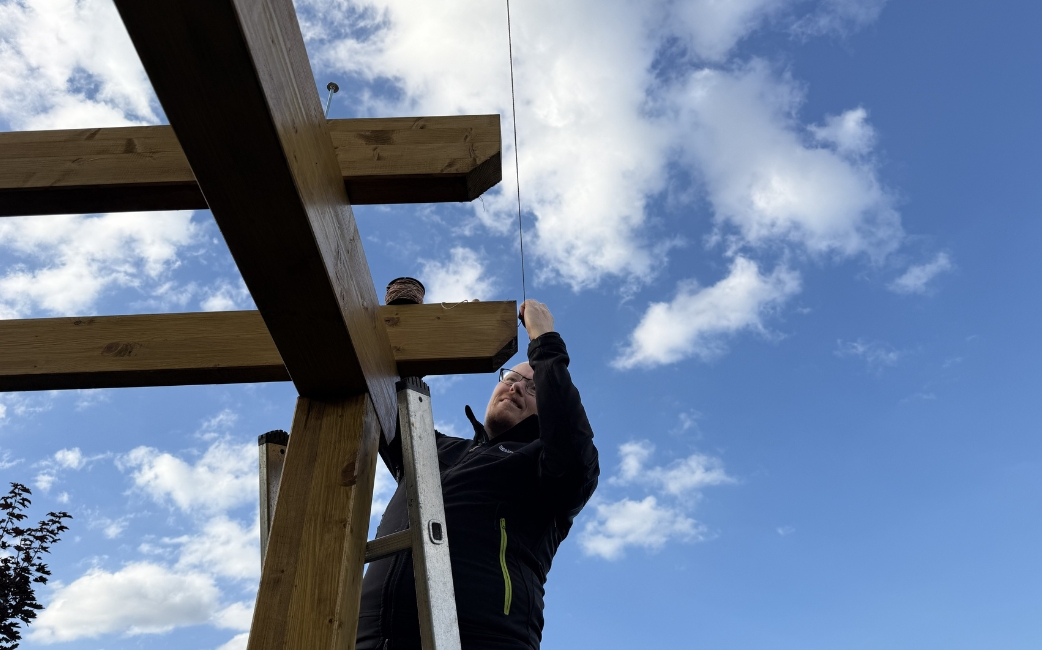
Use a string to align the inner rafters so that they are in a straight line.
Arrange the furniture and enjoy
Your pergola is now finished and ready for the final touches. Put the furniture back in its place and decorate your new favourite spot to suit your taste. You can add natural greenery to the pergola with climbing plants such as clematis or vines. Additional features such as a swing, a hanging bench or atmospheric lighting will make the area even cosier.
Have fun building it and enjoy it!
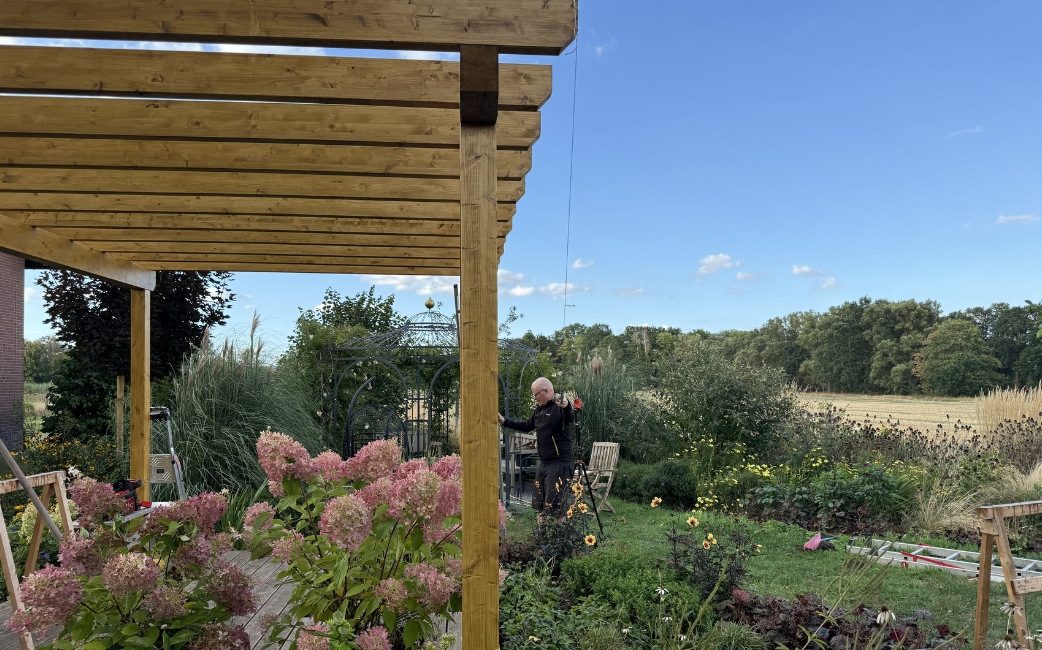
Once finished, the pergola will become your new favourite spot in the garden, complete with comfortable furniture, plants and atmospheric lighting.
Suitable Tools for the Project
Here you'll find Einhell tools and accessories that are perfect for bringing this DIY project to life.


Published on 18.09.2026
“A garden you can get involved in” – that’s what Lena Hartmann offers, known on Instagram as @lenas_staudengarten. On her channel, she regularly shares exciting DIY woodworking projects alongside tips and tricks for perennial beds that bloom all year round. Lately, this has resulted in a whimsical wooden fence with roofs and windows, a wooden deck with a pond, and wooden cladding for bee stones and other decorative objects. Her hands-on approach is infectious, and she inspires a growing community of gardening enthusiasts on Instagram.