

In this article you will learn all about:
Tools and Materials
Materials
- 12 mm plywood sheet
- Sanding paper
- Stencils for the bat’s mouth, ears and wings
- A white linen cloth
- Black paint
- 4 hinges (2 for the lid, 2 for the wings)
Step-by-step guide
Step 1: Trimming the basic shape
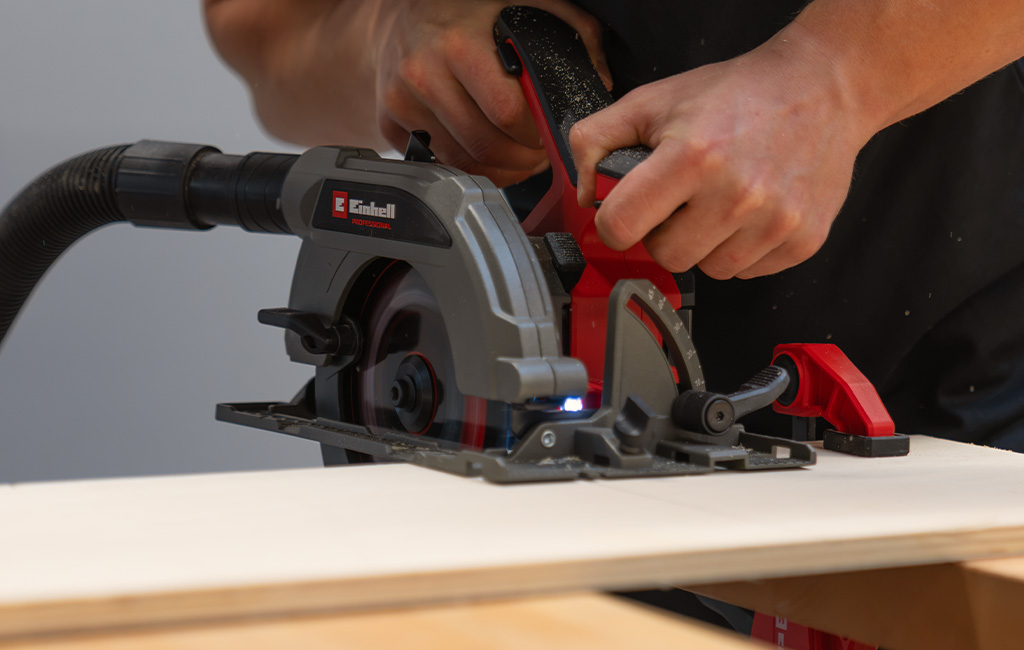
Mark out 4 squares on the plywood sheet, each with a side length of 24 x 24 cm, and cut them out using the cordless circular saw. These four panels will later form the body of your box.
Step 2: Screw the box together
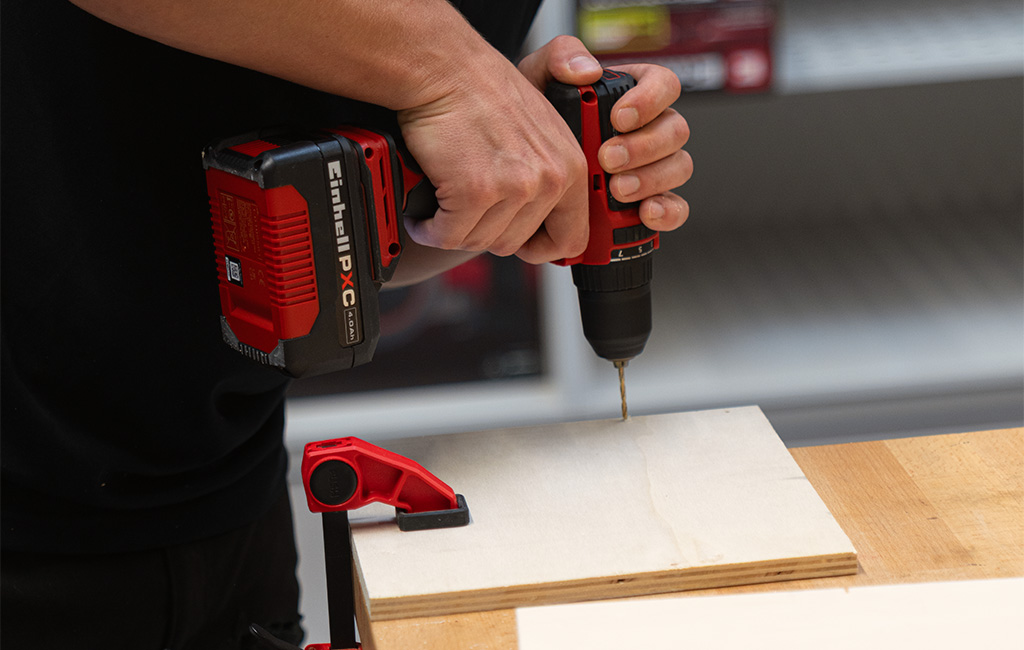
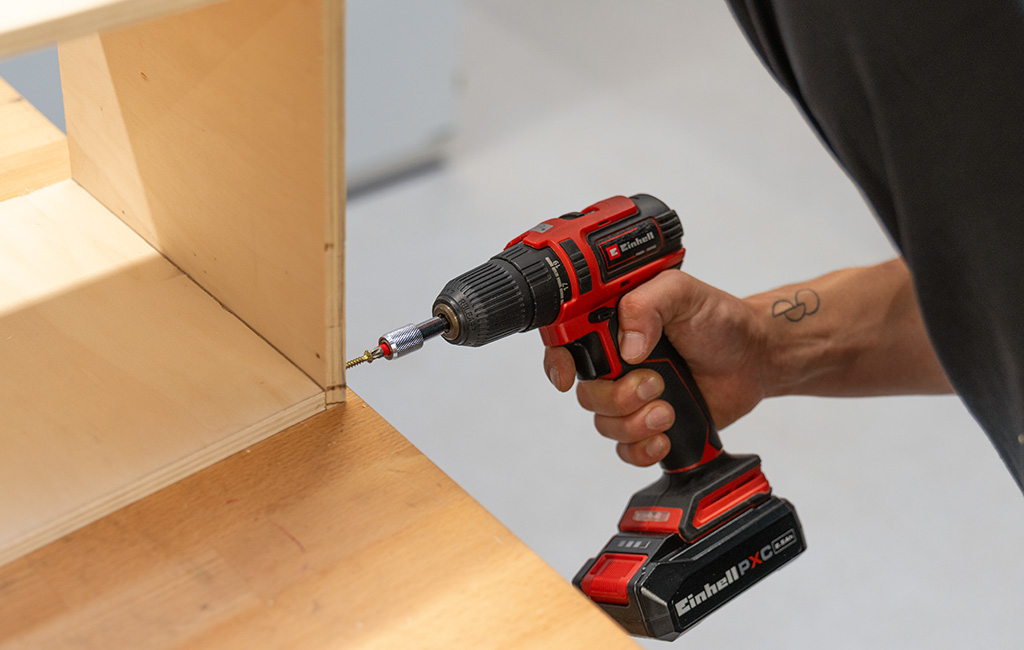
Drill four holes in each of two of the boards – two on each of the opposite sides. Then screw the side panels together to form a box.
Step 3: Sanding
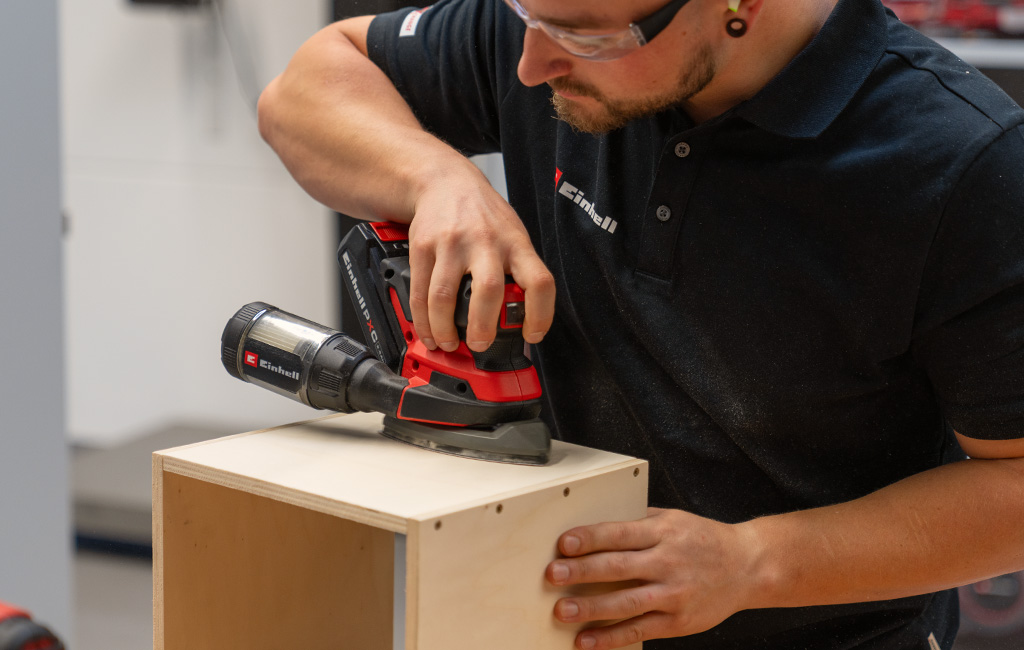
To prevent splinters from causing any problems later on, use the orbital sander to sand all surfaces until they are smooth.
Step 4: Cut out the side panels
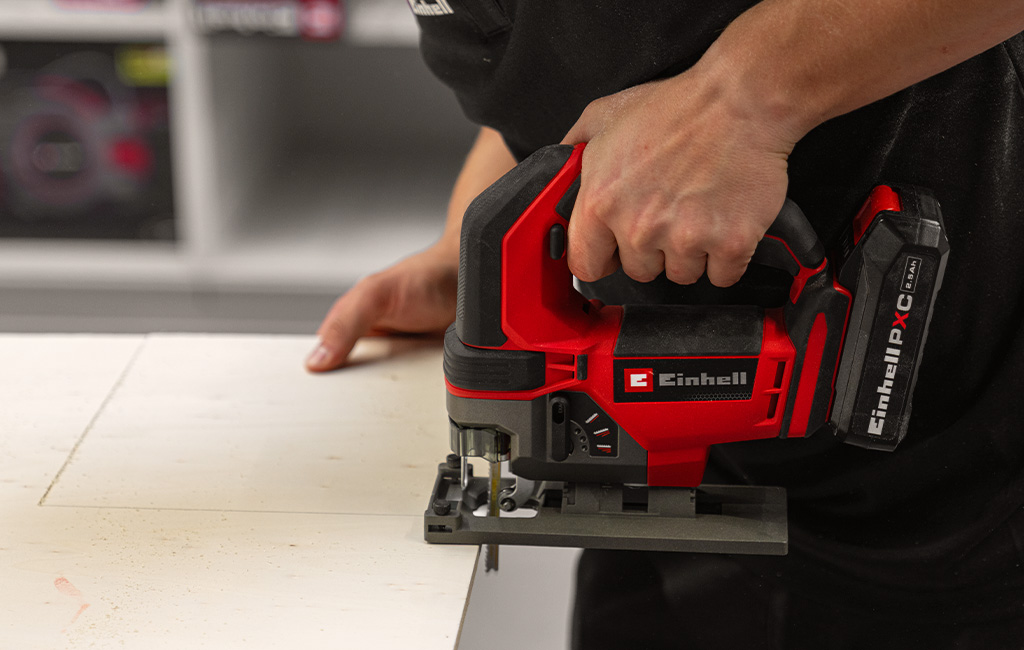
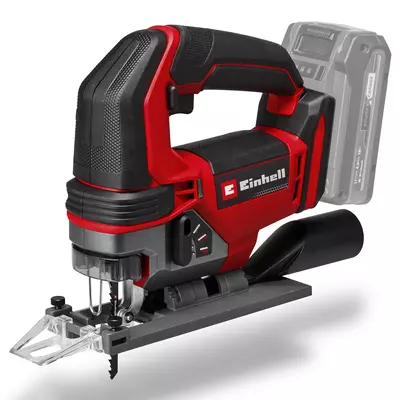
You now have a cube-shaped box with two open sides. To make the compatible side panels, simply place the box on a new piece of wood to use as a template and trace around the outline. Then cut out the shape using the cordless jig saw. As the box has two open sides, repeat this step a second time.
Tip
If there are still any rough patches on the wood after sawing, simply give it a quick sand down.
Step 5: Attach the side panels
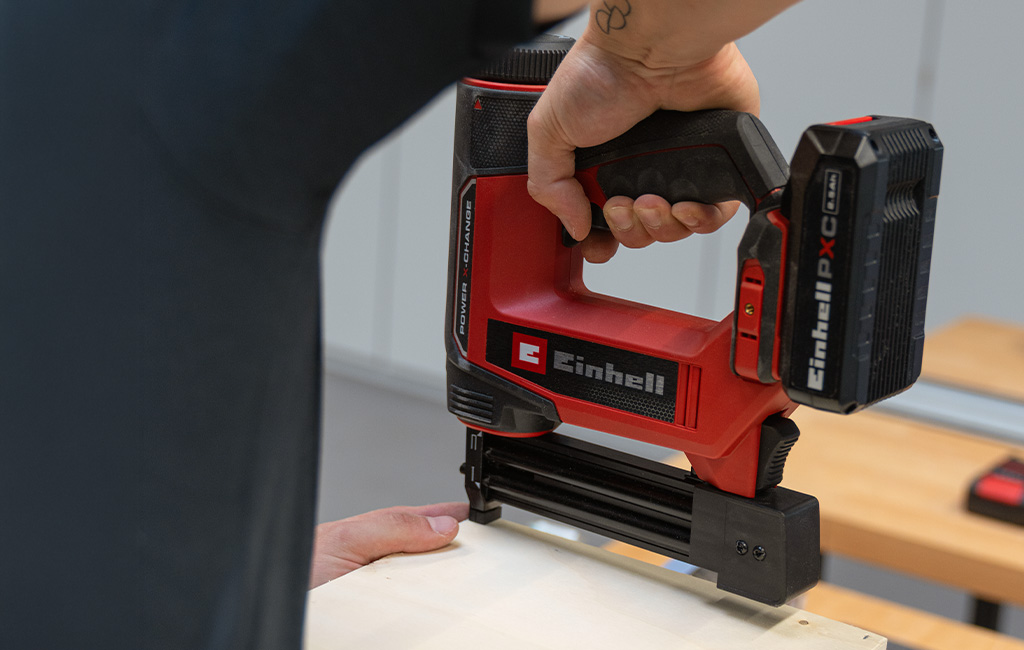
Use the cordless nailer to attach the two side panels you’ve just cut out to the box. The basic frame of your bat box is now complete – it’s time to add the finishing touches and the compatible Halloween decorations.
Step 6: Cut out the bat’s mouth
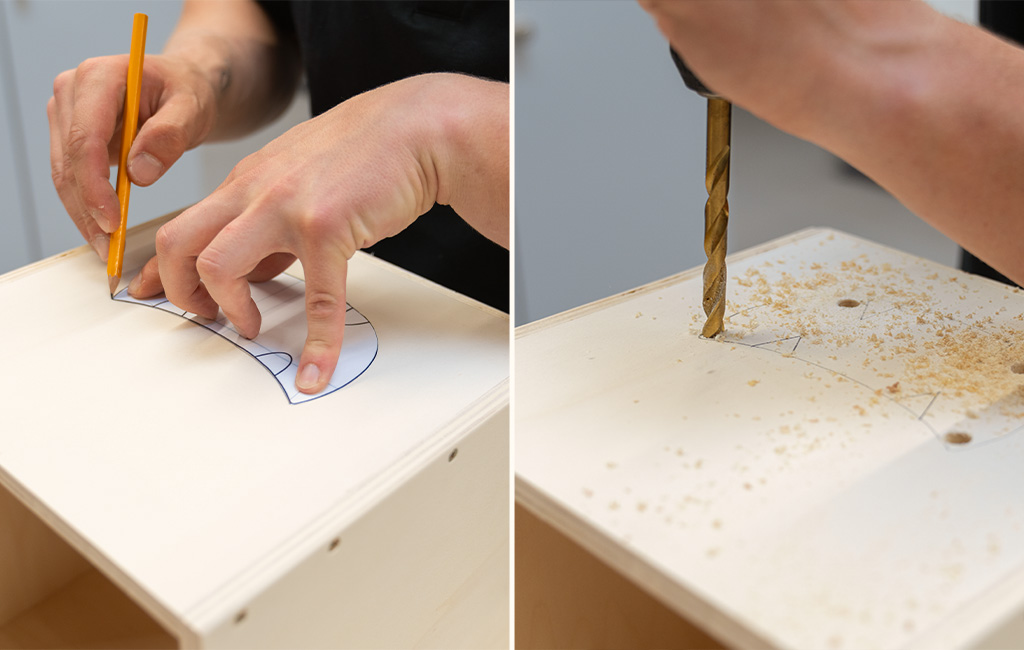
Now comes the most important part, as this is where the sweets will go later. Print out the bat template or sketch the mouth, ears and wings freehand onto a piece of paper. Use the template to trace the shape of the mouth, including the teeth, onto the wood.
Tip
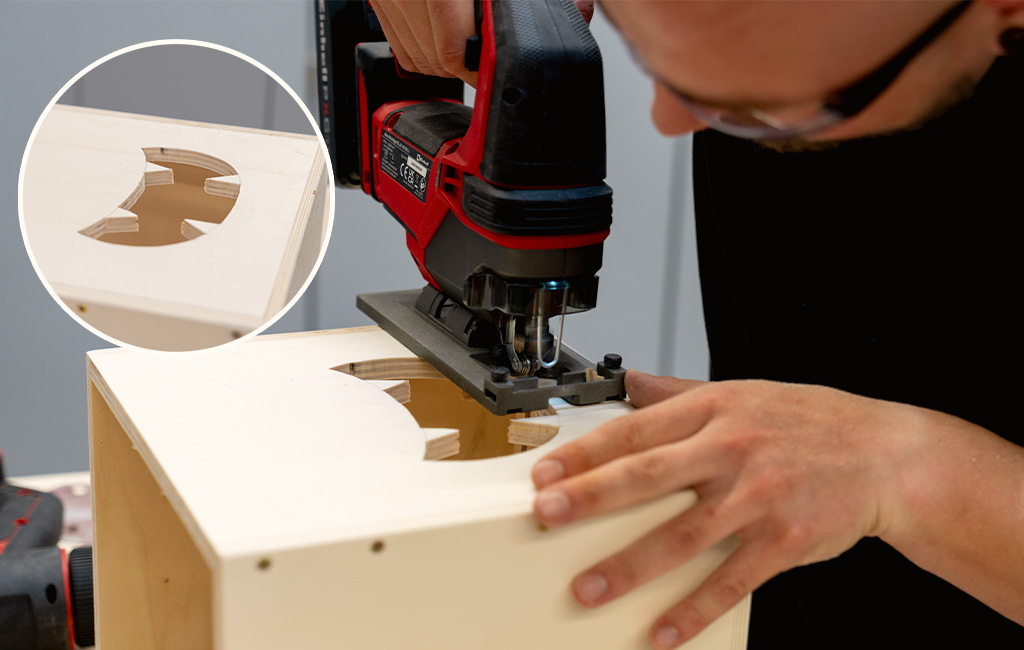
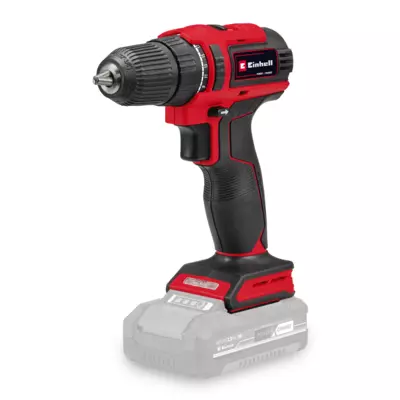
Use the cordless drill to pre-drill a few holes in any positions within the mouth template – this will make it much easier for you to cut it out with the jigsaw afterwards. Then cut out the mouth and teeth along the marked lines.
Step 7: Round off the teeth
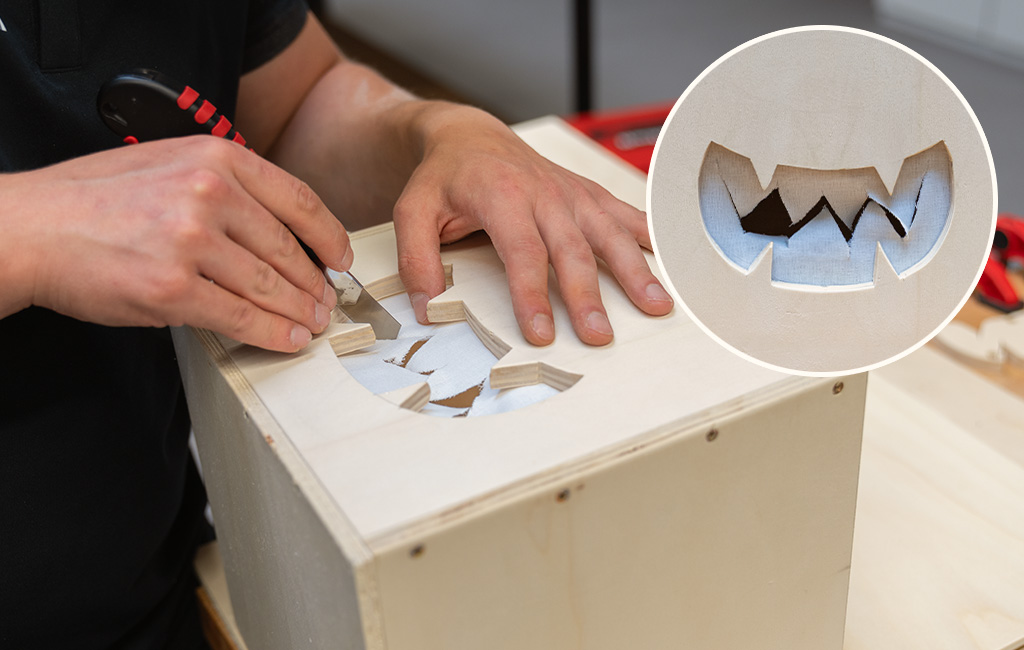
Sand down the sharp edges of the cut-out teeth thoroughly with sanding paper so that you don’t hurt yourself when you reach inside.
Step 8: Fit the hinges to the lid
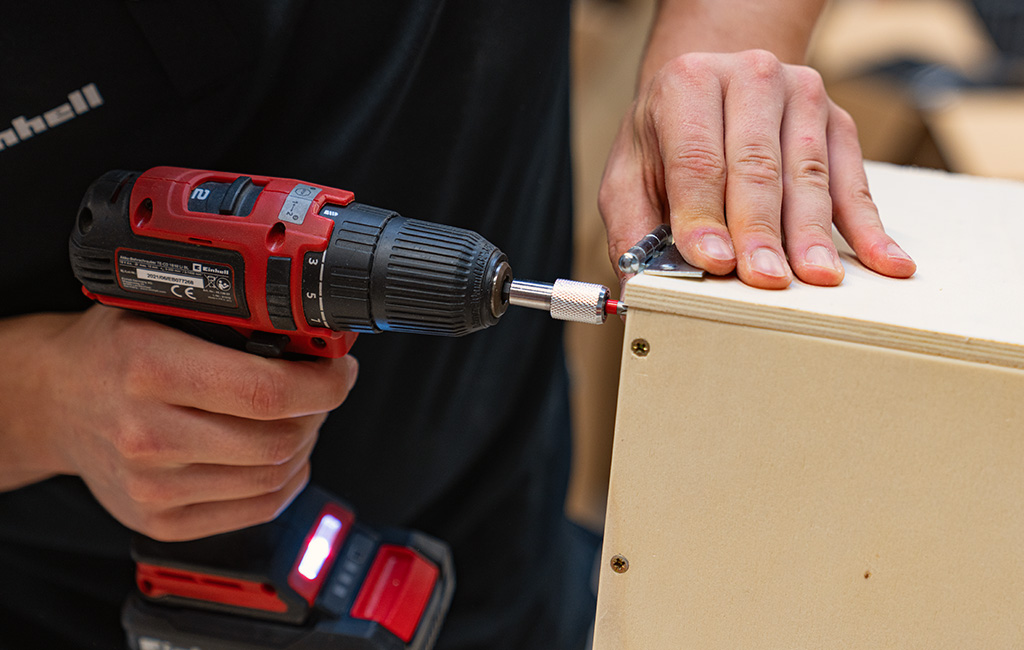
Use screwing to attach two hinges – one on the back of the box and one on the lid. This will make it easy to open the lid later to fill the box with sweets.
Step 9: Insert the linen cloth
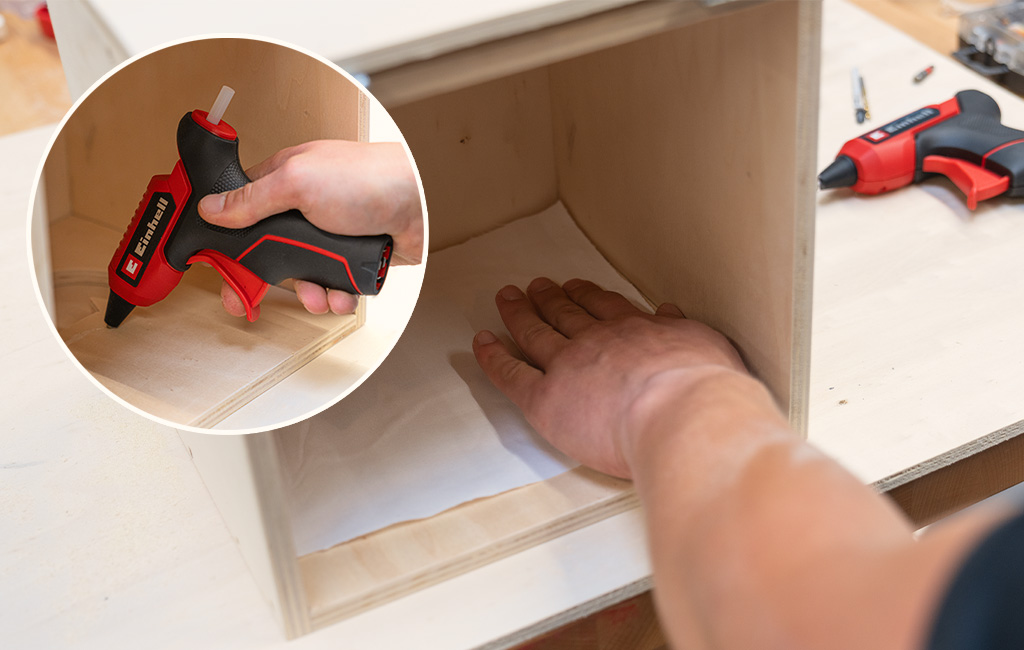
Cut a compatible rectangle from a white linen cloth. Use the hot glue gun to stick it over the opening from the inside. Then make a slit down the centre of the cloth from the outside, so that you can easily reach in and grab the sweets.
Step 10: Trim the ears and wings
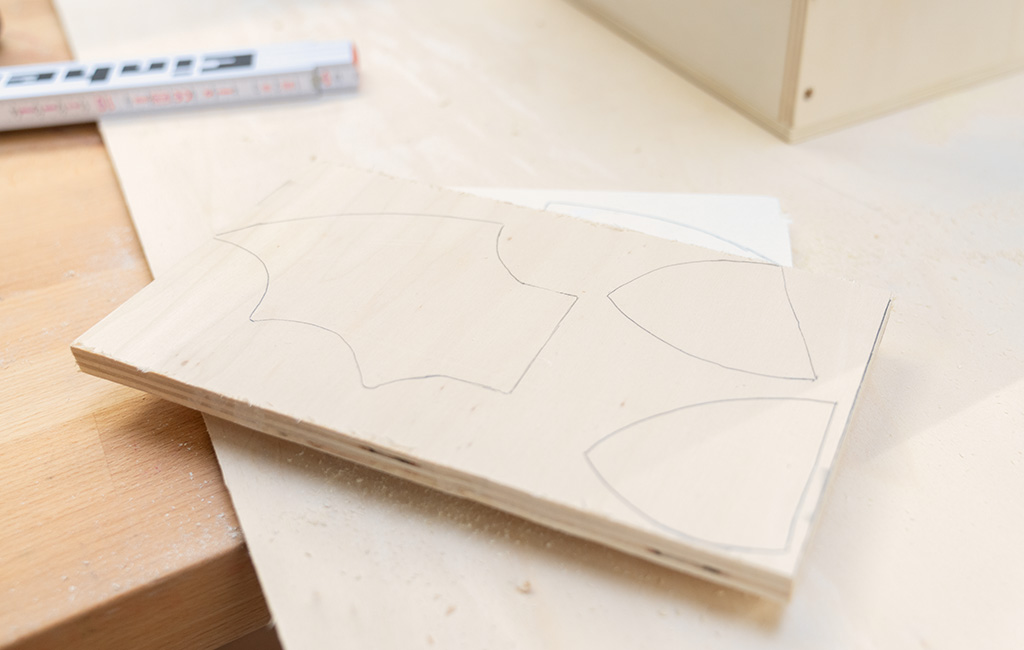
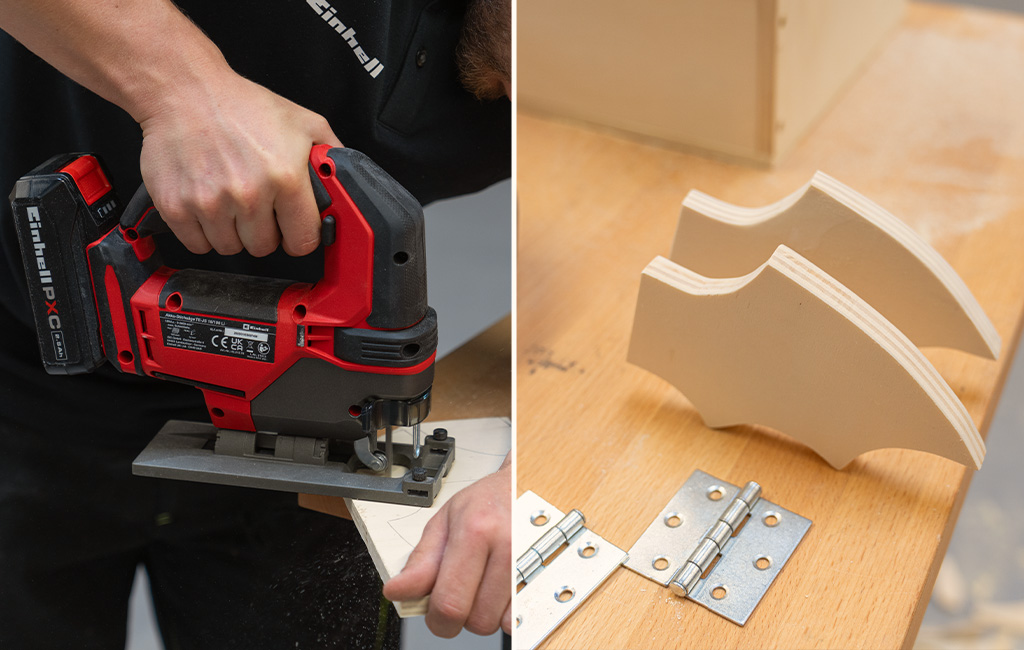
Transfer the shapes of the ears and wings onto the wood using the template, trim them with a jig saw and sand the edges down neatly.
Step 11: Attach the ears and wings
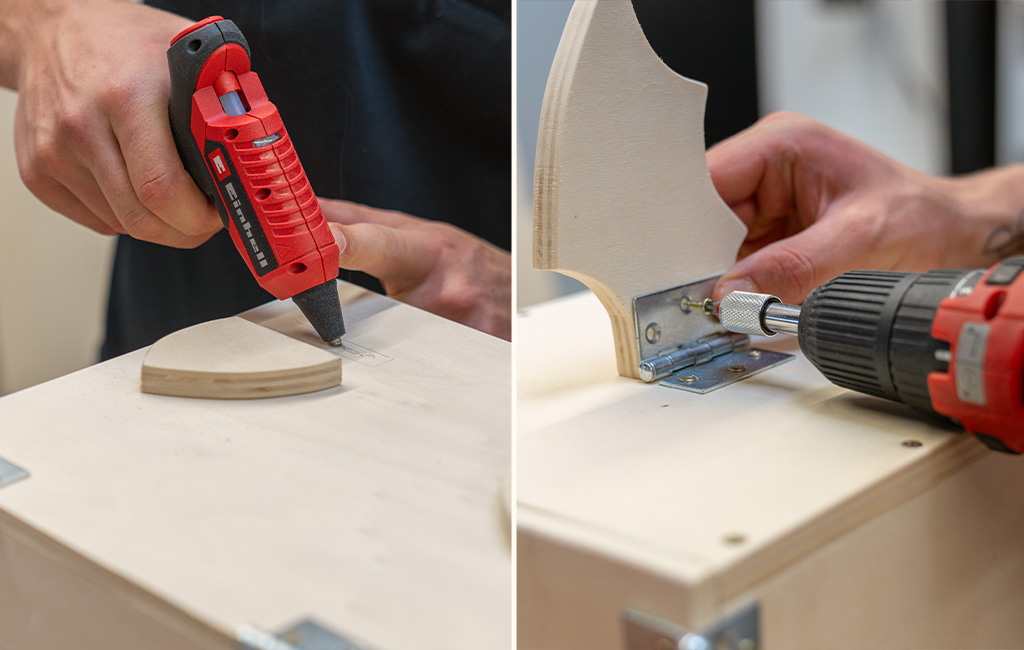
Use the hot glue gun to stick the ears in the centre of the top of the lid, in your chosen position.
For the wings, perform screwing on one hinge on each of the two side panels. You can then attach a wing to each hinge.
The hinges allow the wings to move – so it almost looks as if the bat is flapping its wings.
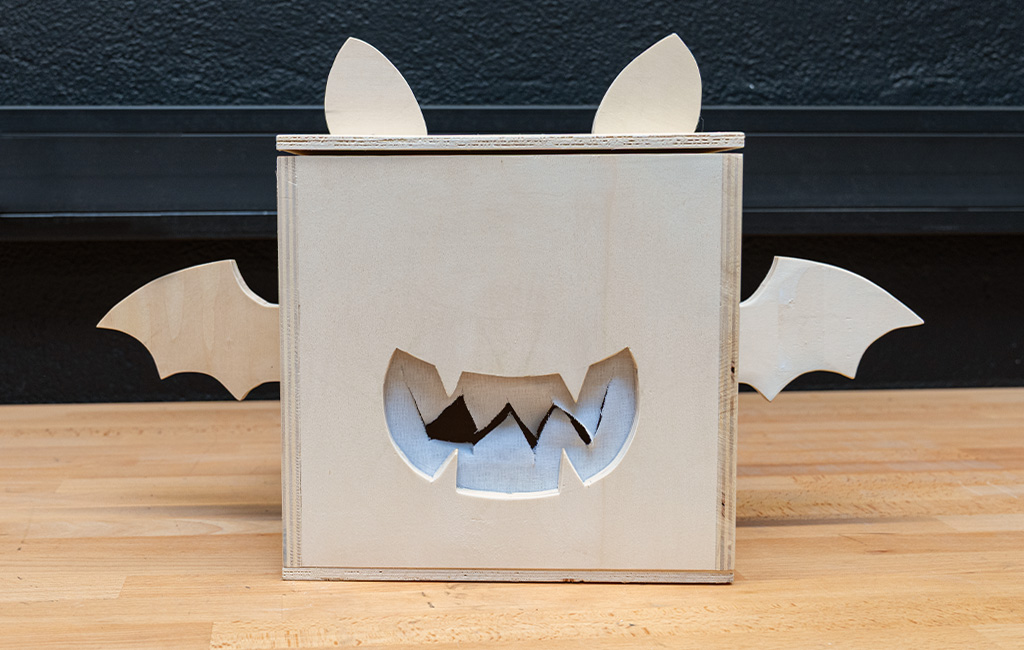
The Finishing Touches
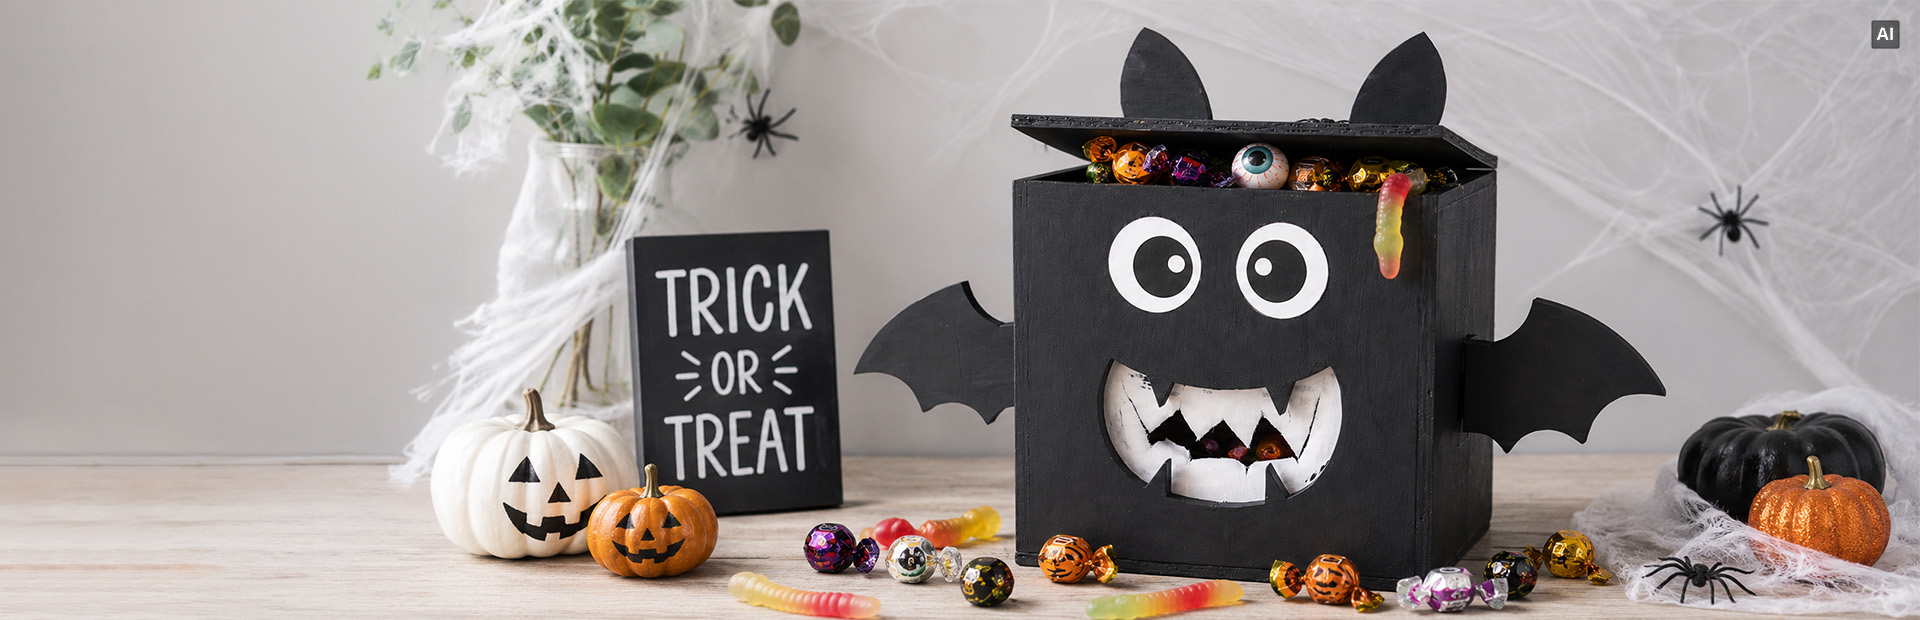
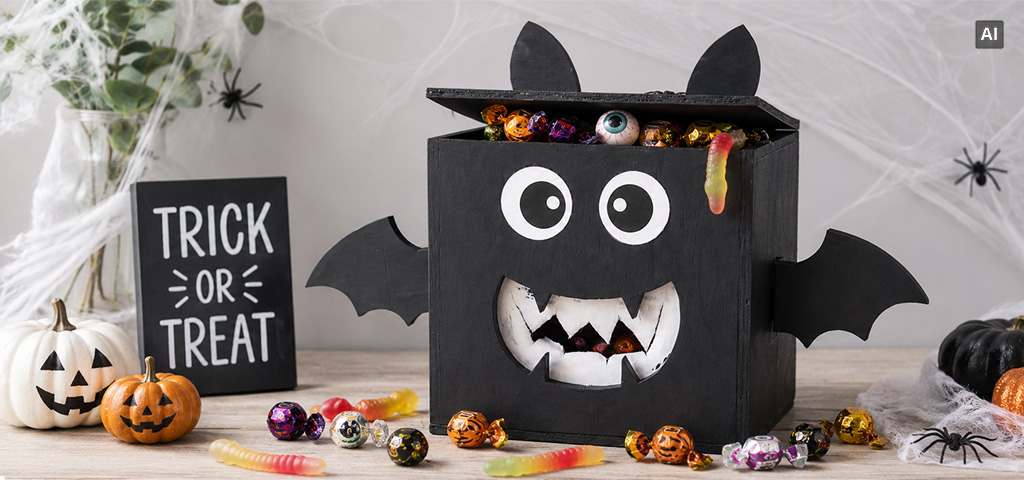
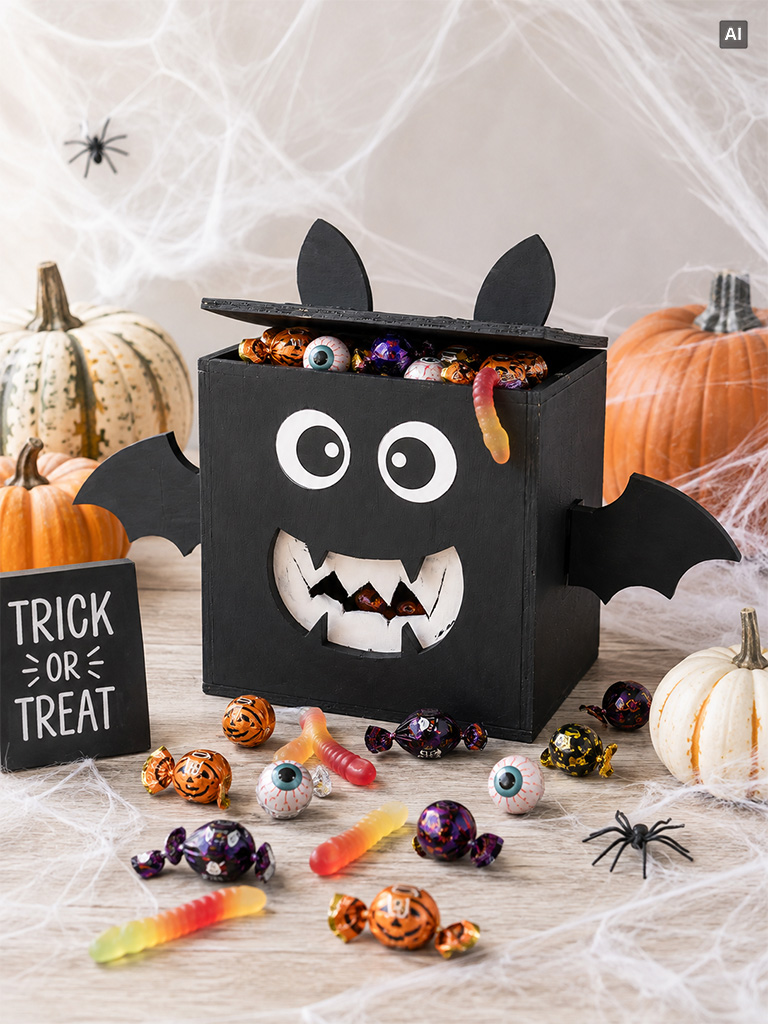
Finally, give your bat box the finishing touches: paint the whole box black. Then leave the paint to dry thoroughly. Now all you have to do is fill the bat box with some tasty sweets – and you’re all set for Halloween!
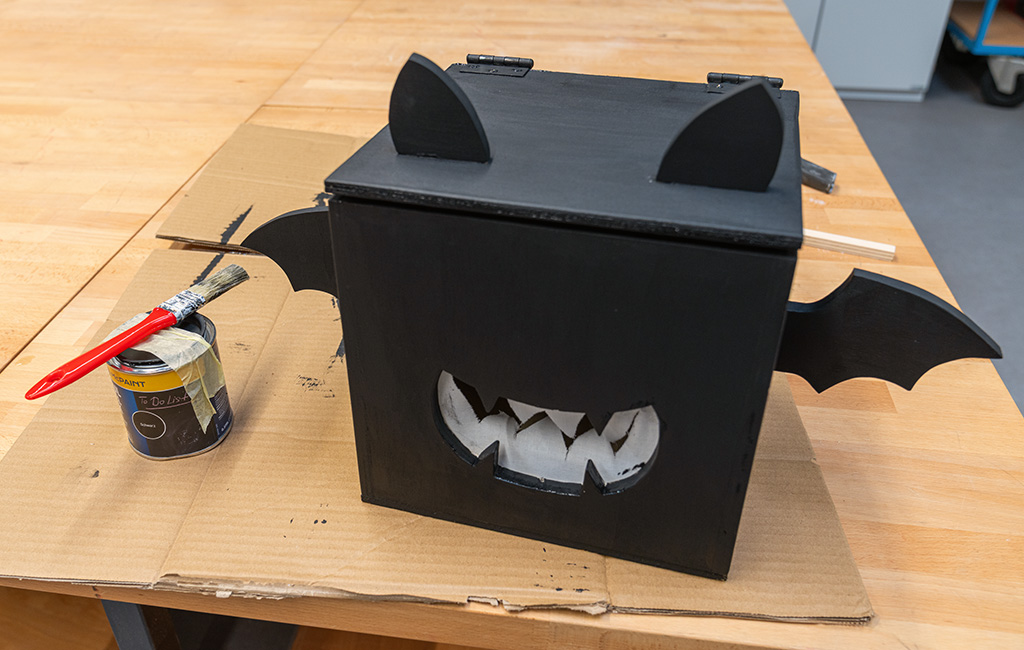
With its wings, ears and spooky teeth, this homemade bat box creates a delightfully eerie Halloween atmosphere.
With just a few materials and compatible Einhell tools, the bat box can be built in no time and is ready for its big moment on Halloween. Whether as a sweet box for young visitors or as a spooky decorative highlight for your Halloween party – the bat is guaranteed to be a real eye-catcher.
Suitable Tools for the Project
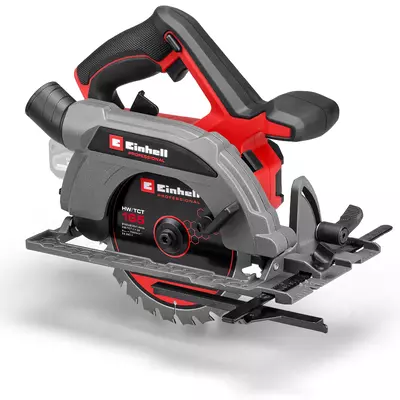
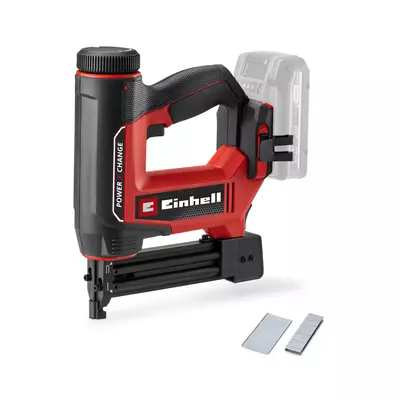
Here you'll find Einhell tools and accessories that are perfect for bringing this DIY project to life.

Published on 23.09.2026
Whether it’s smart tool tips or exciting DIY projects: Philip shares his passion for powerful equipment and clever solutions for everyday home improvement. For many years, he has been training both Einhell employees and external partners, providing product knowledge and demonstrating hands-on applications. With plenty of expertise and enthusiasm, he also brings his own project ideas to life and lets his community follow along. His content combines practical expert knowledge with creative inspiration for every workbench.