


In this article you will learn all about:
Tools and Materials
Materials
- Spruce timber, 17 mm thick
- Weather-resistant adhesive/wood glue
- Screws
Step-by-step guide
Step 1: Mark out the pieces
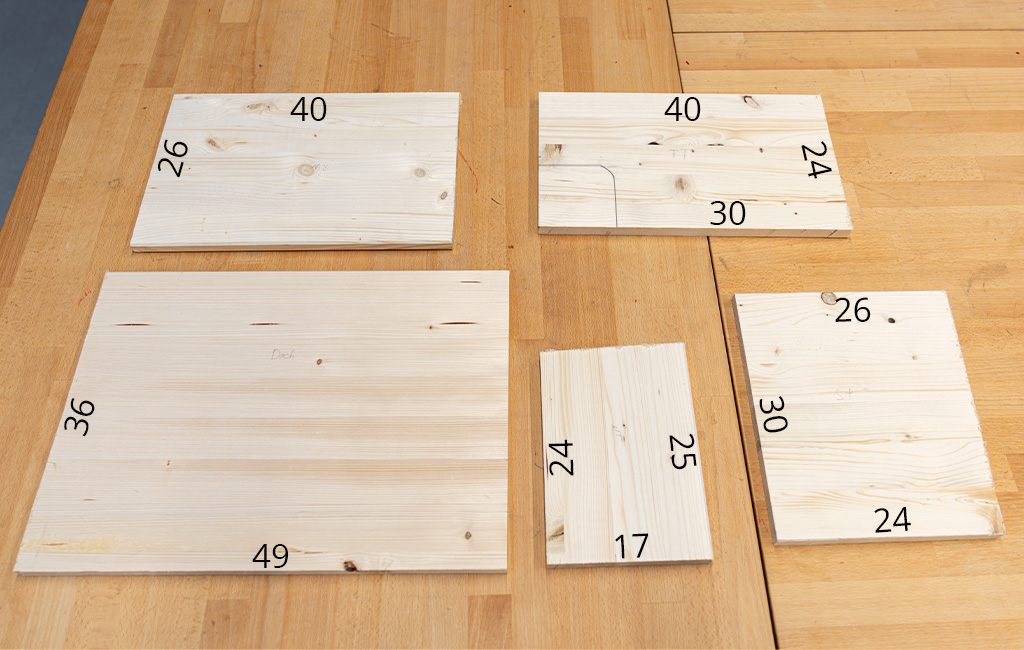
First, mark out all the components of the hedgehog house on the 17 mm thick spruce timber. For the roof, mark out a rectangle with a width of 49 cm and a height of 36 cm; for the back wall, mark out a rectangle with a width of 40 cm and a height of 26 cm.
For the two side panels, mark out a section that has a width of 30 cm at the bottom; one side is 24 cm high and the other 26 cm – the top edge therefore runs diagonally from one side to the other, so that the roof fits perfectly later on.
For the partition wall, draw a shape that has a width of 17 cm at the bottom; here, too, one side has a height of 25 cm and the other has a height of 24 cm, so that the slant matches the roof pitch of the side panels exactly.
For the front panel, draw a shape with a width of 30 cm and a height of 24 cm, and cut out a 10 x 10 cm corner at the bottom left, which will later serve as the hedgehog’s entrance.
Step 2: Cut out the wooden parts
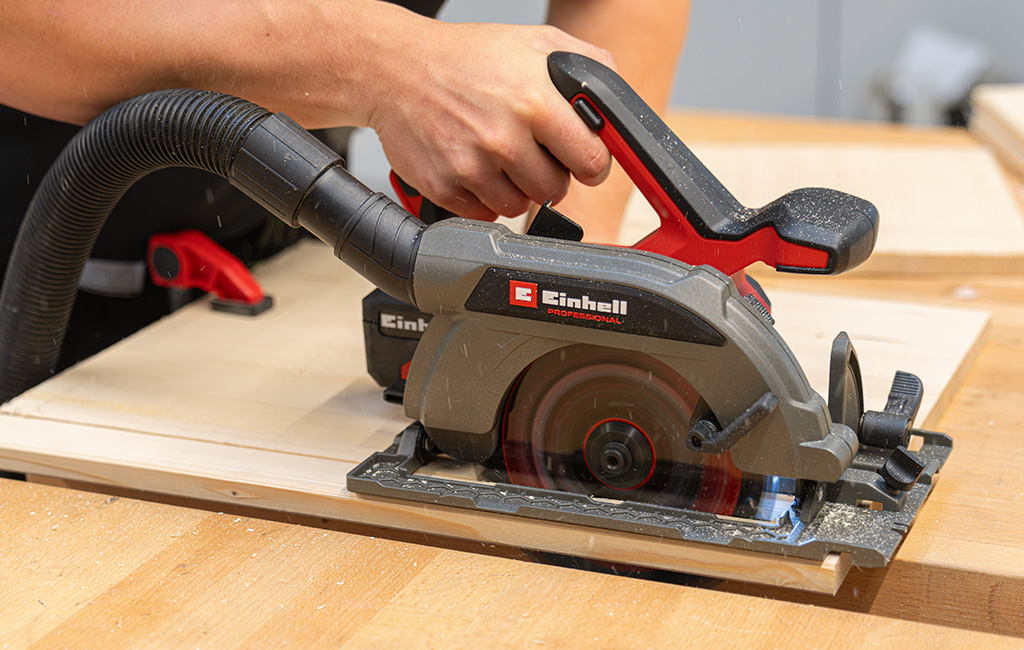
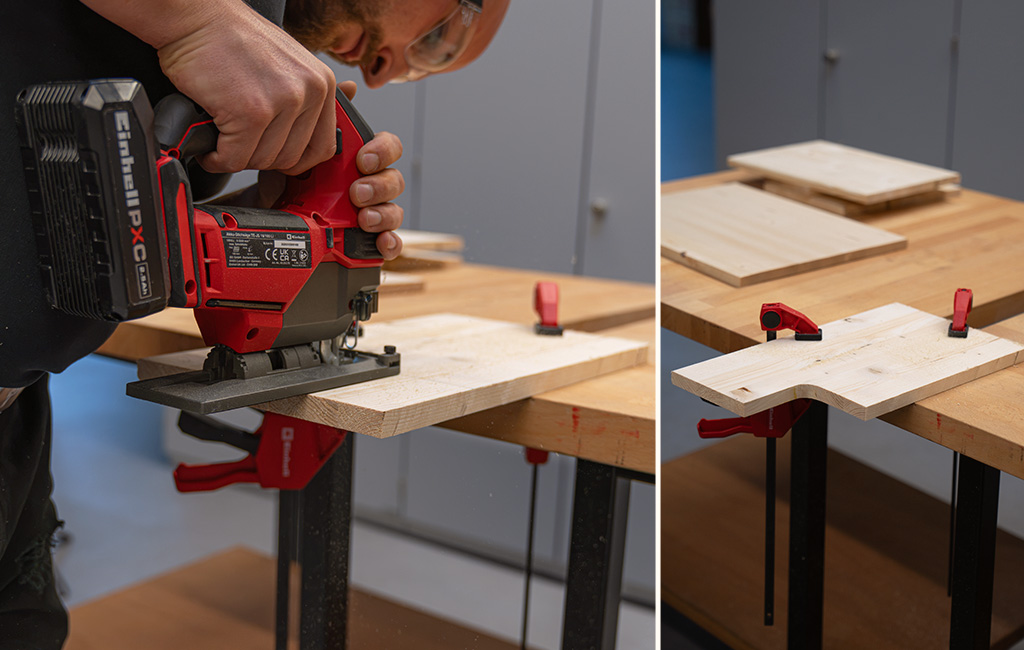
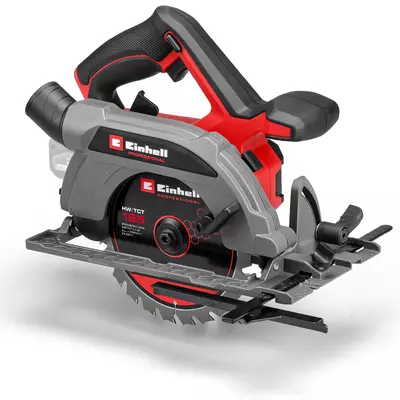
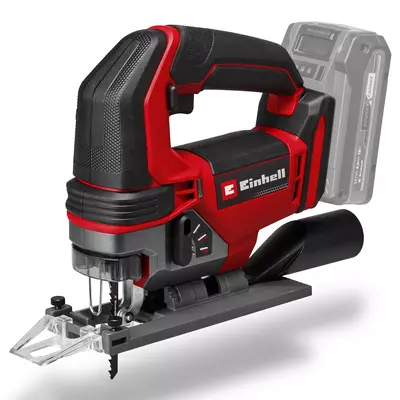
Cut out the marked-out parts using the cordless circular saw. For the front panel, you’ll also need the jigsaw to cut out the corner for the future entrance to the hedgehog house.
Step 3: Sanding
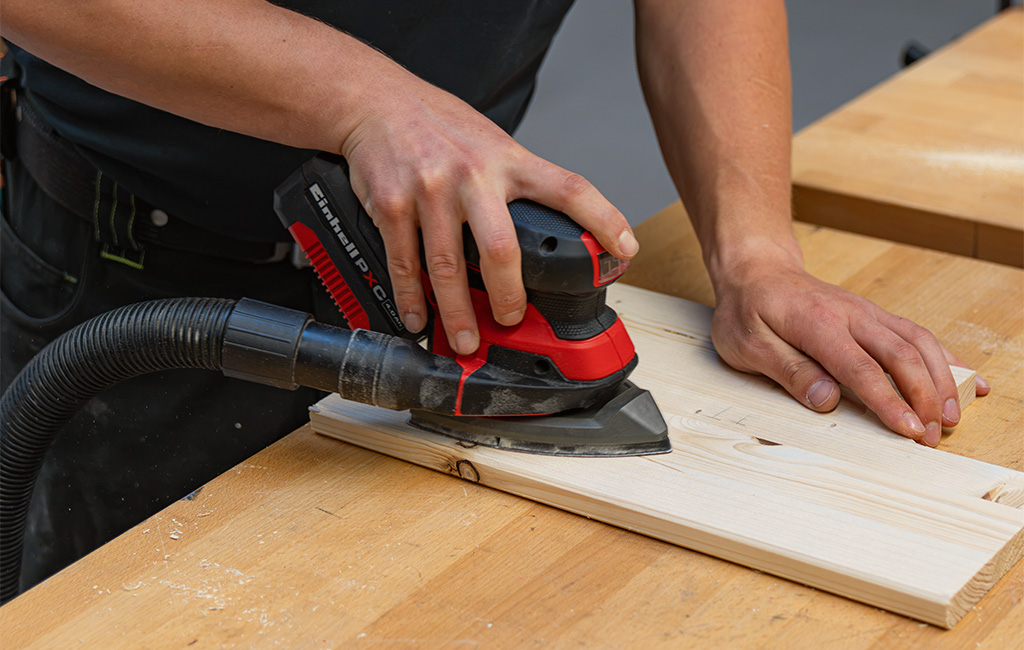
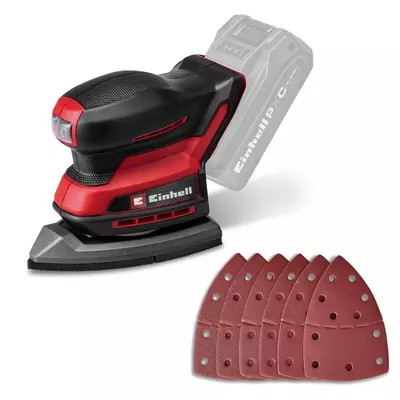
Carefully sand down all the corners and edges of the wooden parts, ideally using a cordless multi-sander. This will prevent splinters and ensure a smooth finish.
Step 4: Assembly
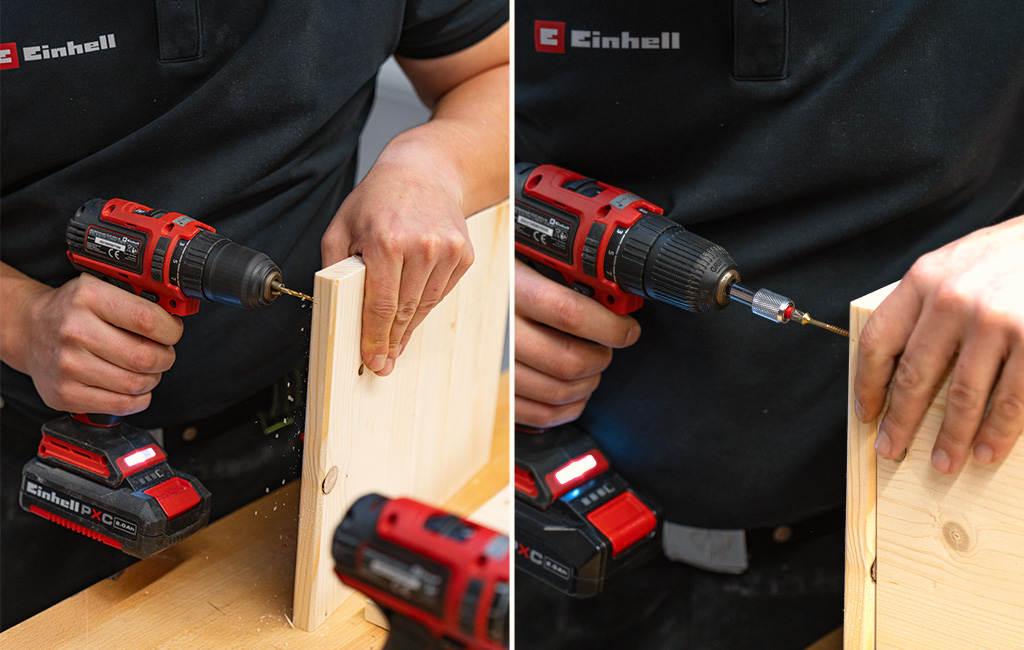
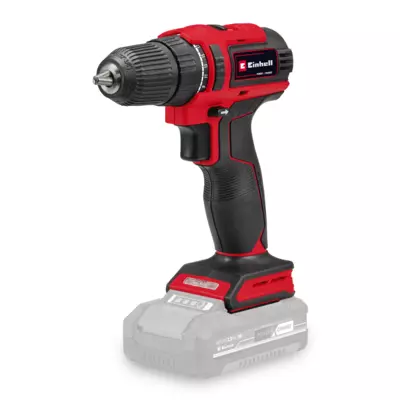
Now it’s time to assemble the individual parts. To do this, first use the cordless drill to perform the drilling at the relevant joining points; this will make it easier to screw them together later and prevent the wood from splitting.
Start with the two side panels: screw them to the back panel, making sure that the sloping side is facing upwards in each case so that the roof can be compatible with the structure later. In the next step, screw the front panel to the two side panels to form the basic shape of the box. Finally, insert the partition next to the entrance into the interior of the box and screw it in place as well – here too, it is important that the sloping side of the partition faces upwards so that it aligns with the roof slope later on.
Step 5: Trim the roof brackets
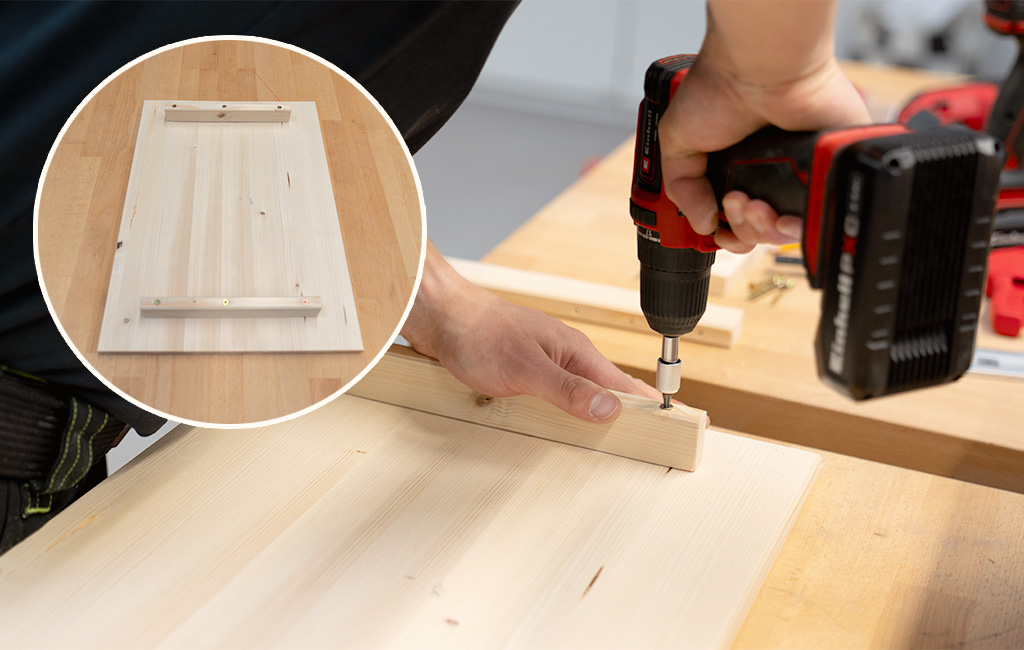
To ensure the roof sits securely and fits snugly on the box later on and doesn’t slip, you’ll need two narrow wooden strips to act as brackets. The only important factor here is the length of the strips; the width and thickness are irrelevant and can vary depending on the offcuts you have available. Measure the depth of the interior – that is, the distance from the inside of the front panel up to the inside of the back panel – and trim the two strips lengthways to exactly this measurement.
Step 6: Attach the battens to the rear of the roof
As the box is open at both ends, you can simply place it in the centre of the roof section. Now use a pencil to trace along the inside of the box to mark where the inner edge of the box lies on the roof. This mark will show you exactly where you need to screw the battens in place later, so that they lie flush against the inside of the box and hold the roof securely in place.
Step 7: Coat with glue
To finish off, coat the entire hedgehog house with weather-resistant glue. This protects the wood from damp and ensures that your hedgehog house will last for many winters, even out in the garden.
Ready for the hedgehogs to move in
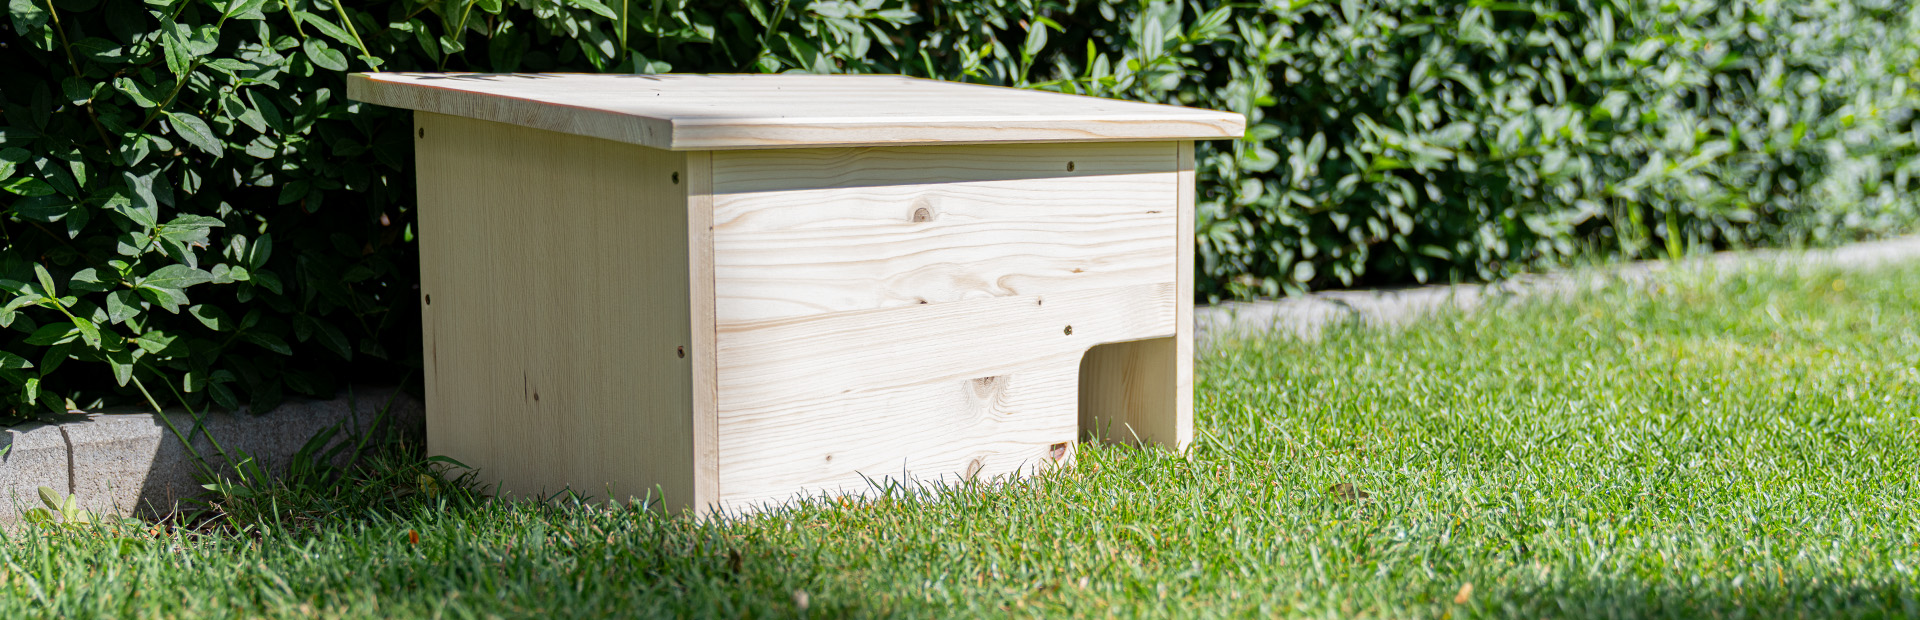
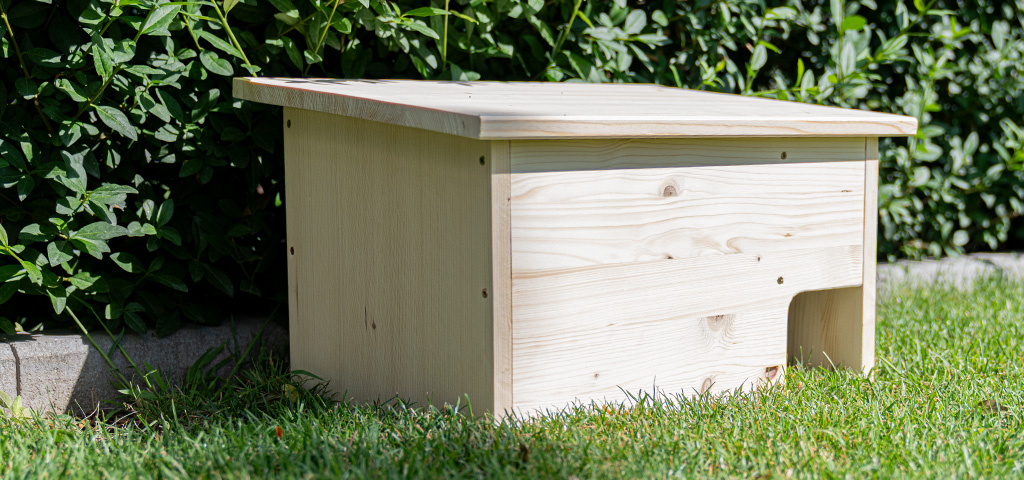
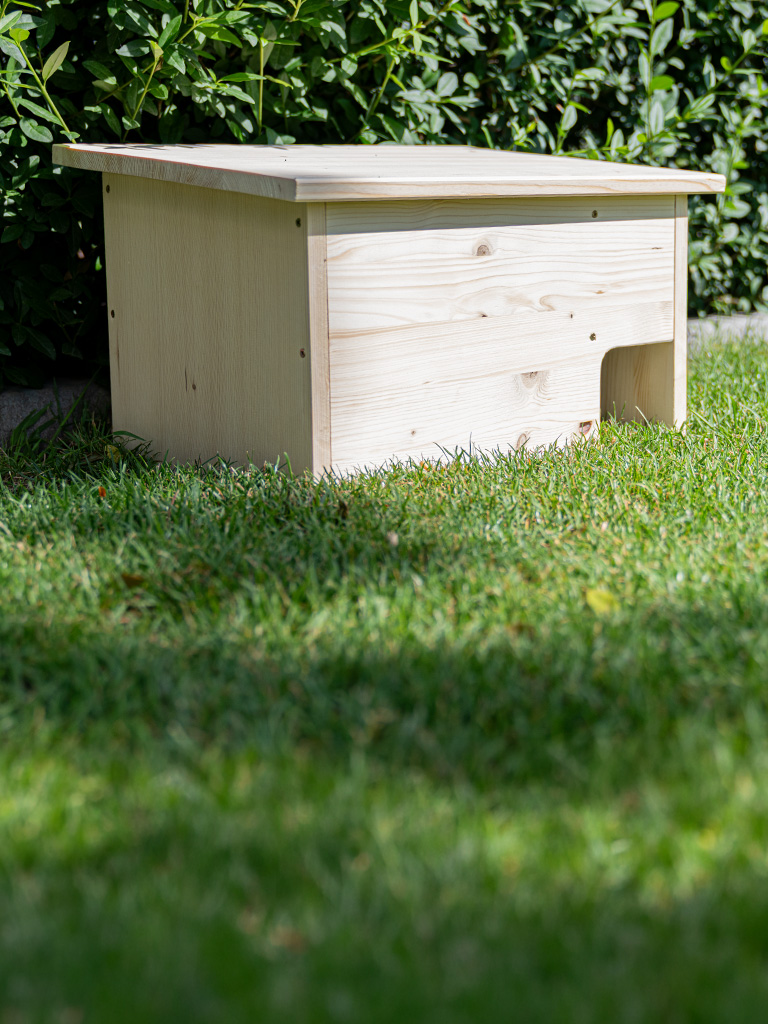
Your homemade hedgehog house is ready! Place it in a quiet, sheltered spot in the garden – ideally near hedges or bushes – and you’ll have given your prickly neighbours a cosy winter home.
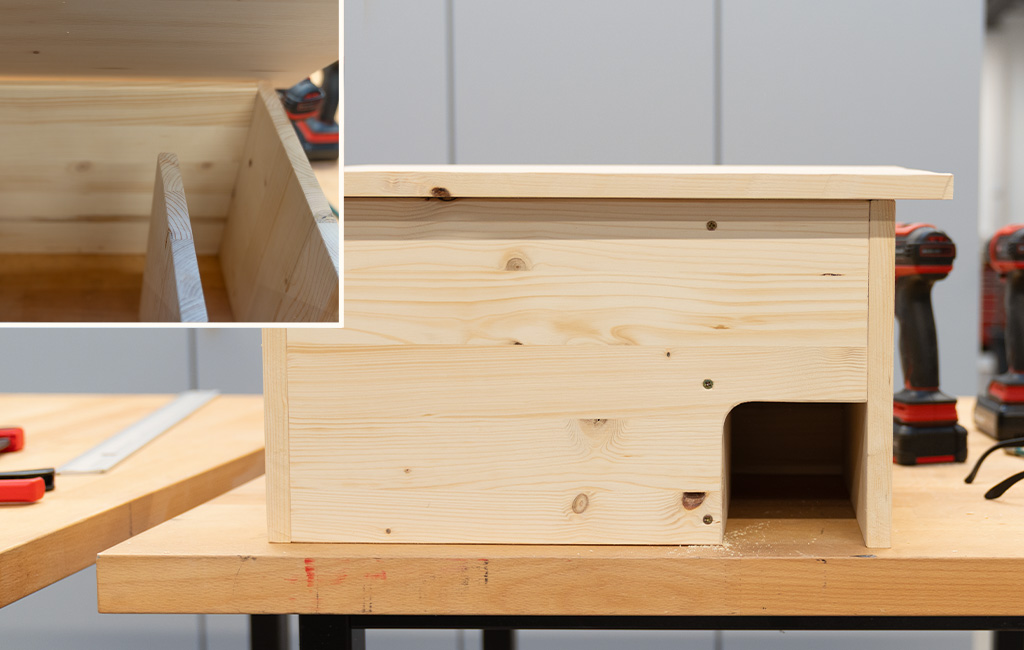
The handmade hedgehog house is ready for winter, offering a cozy retreat in a sheltered corner of the garden.
Suitable Tools for the Project
Here you'll find Einhell tools and accessories that are perfect for bringing this DIY project to life.

Published on 06.11.2026
Whether it’s smart tool tips or exciting DIY projects: Philip shares his passion for powerful equipment and clever solutions for everyday home improvement. For many years, he has been training both Einhell employees and external partners, providing product knowledge and demonstrating hands-on applications. With plenty of expertise and enthusiasm, he also brings his own project ideas to life and lets his community follow along. His content combines practical expert knowledge with creative inspiration for every workbench.